Invite Users
User invitations are currently available on desktop only.
Inviting your team members to a channel
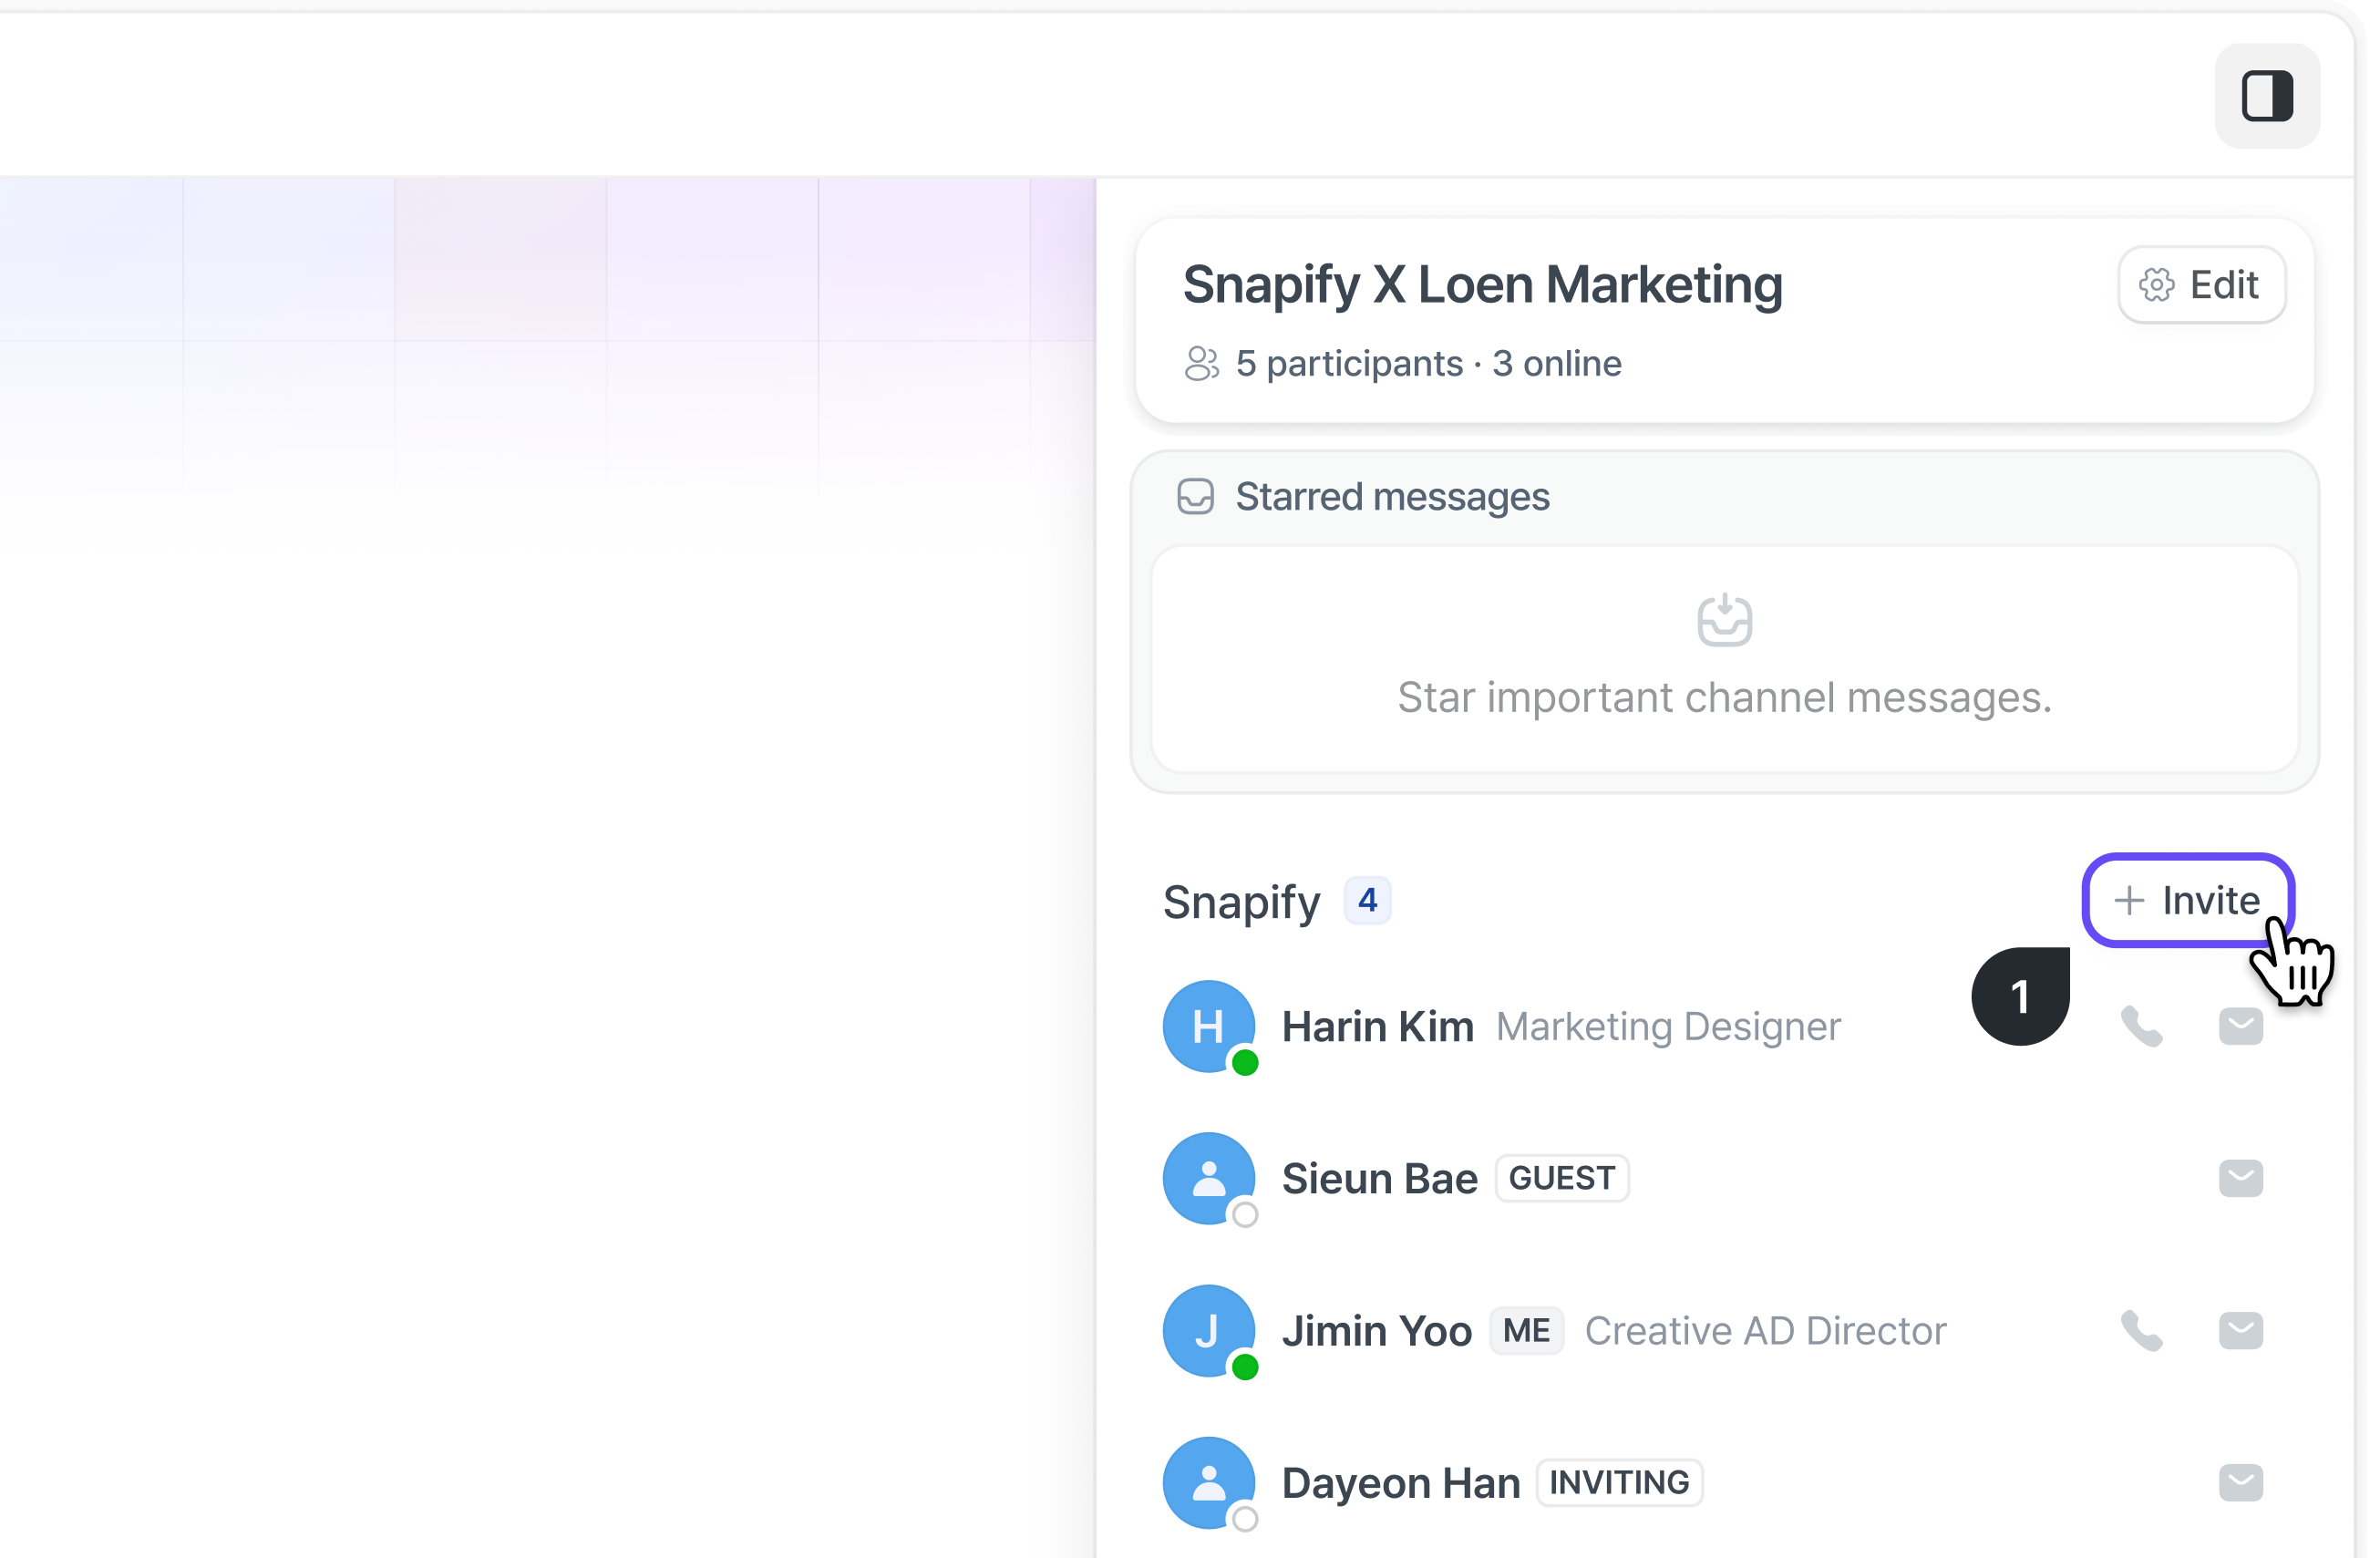
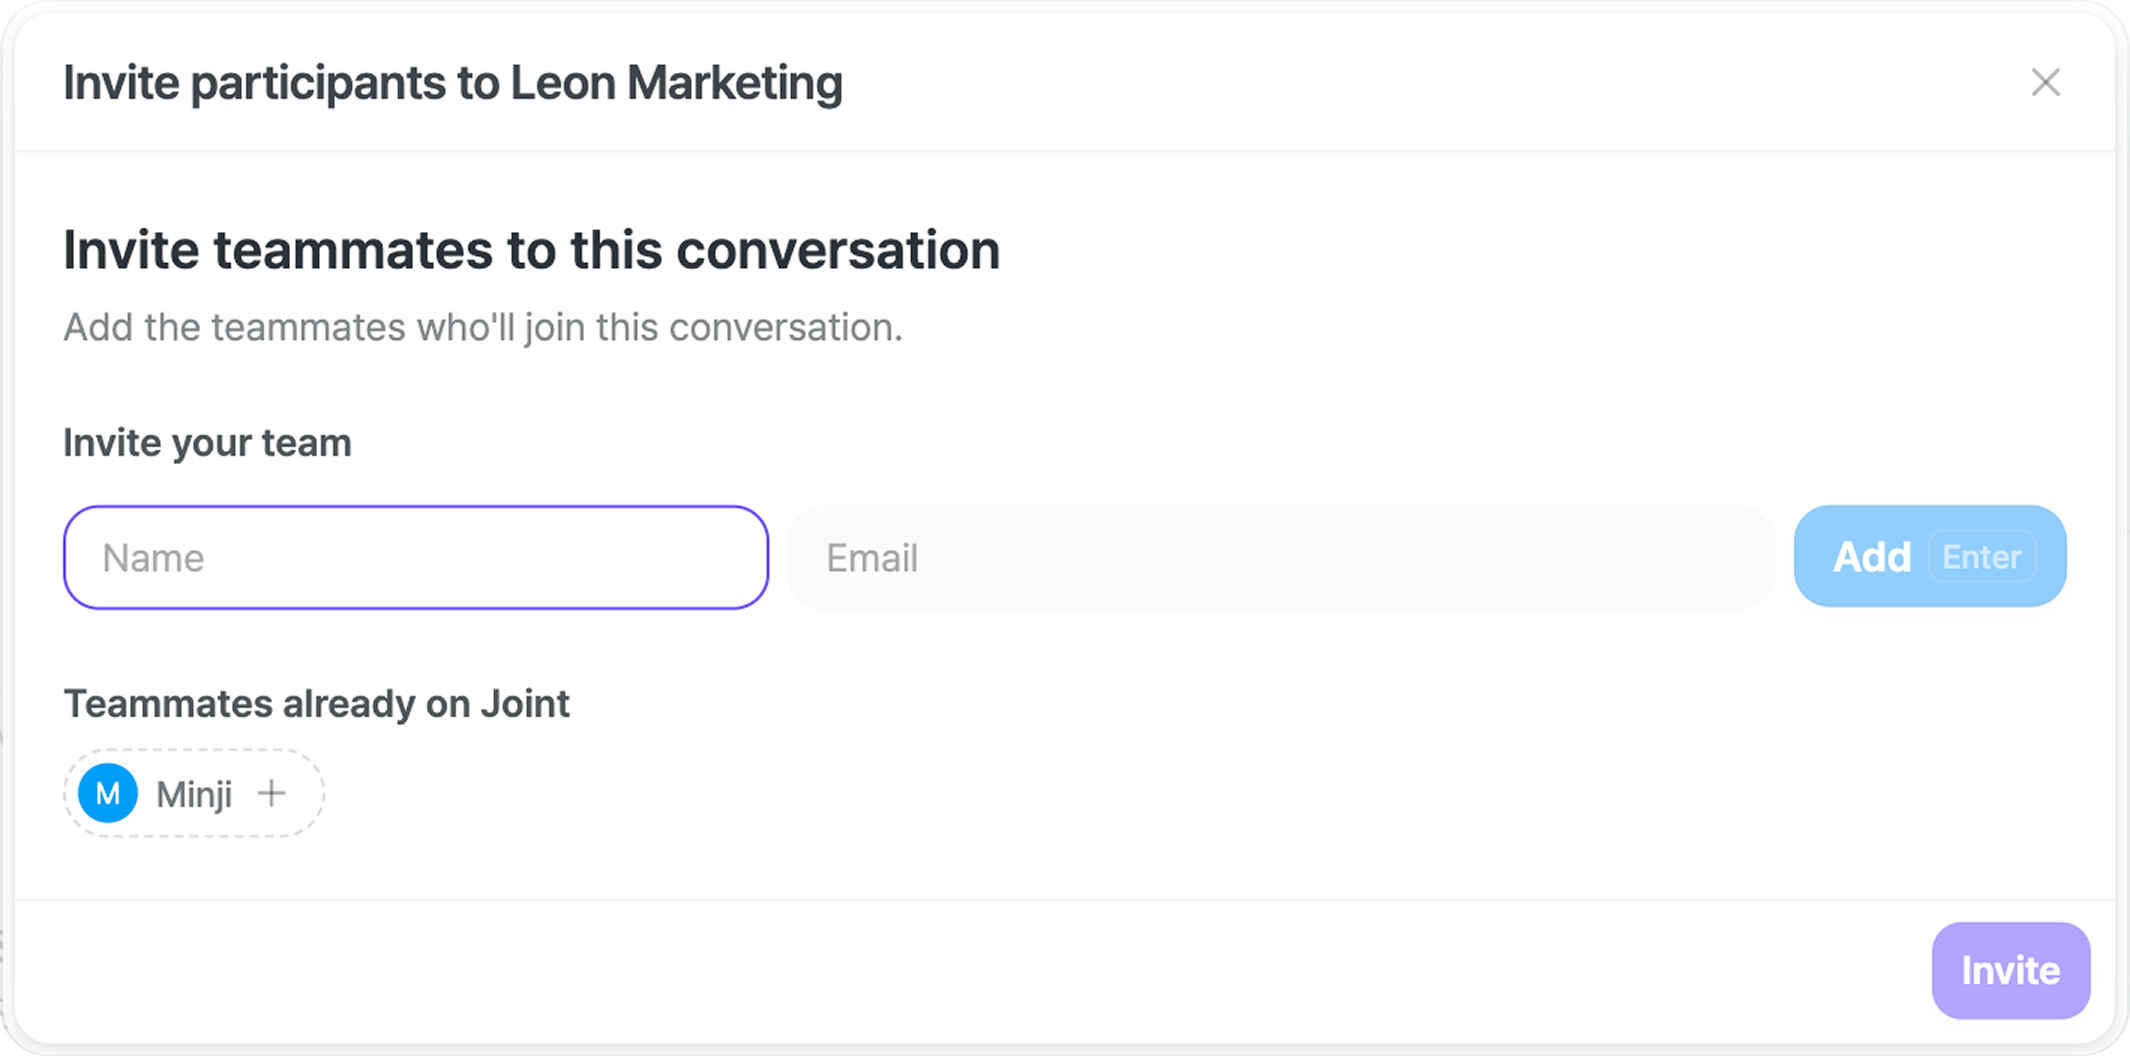


- You can invite team members through the [+] button on the right side of [Channel info] – [Your workspace name].
- Already-registered users can be added directly from the list, while team members who haven’t signed up yet can be invited by entering their email.
Inviting account contacts to a channel
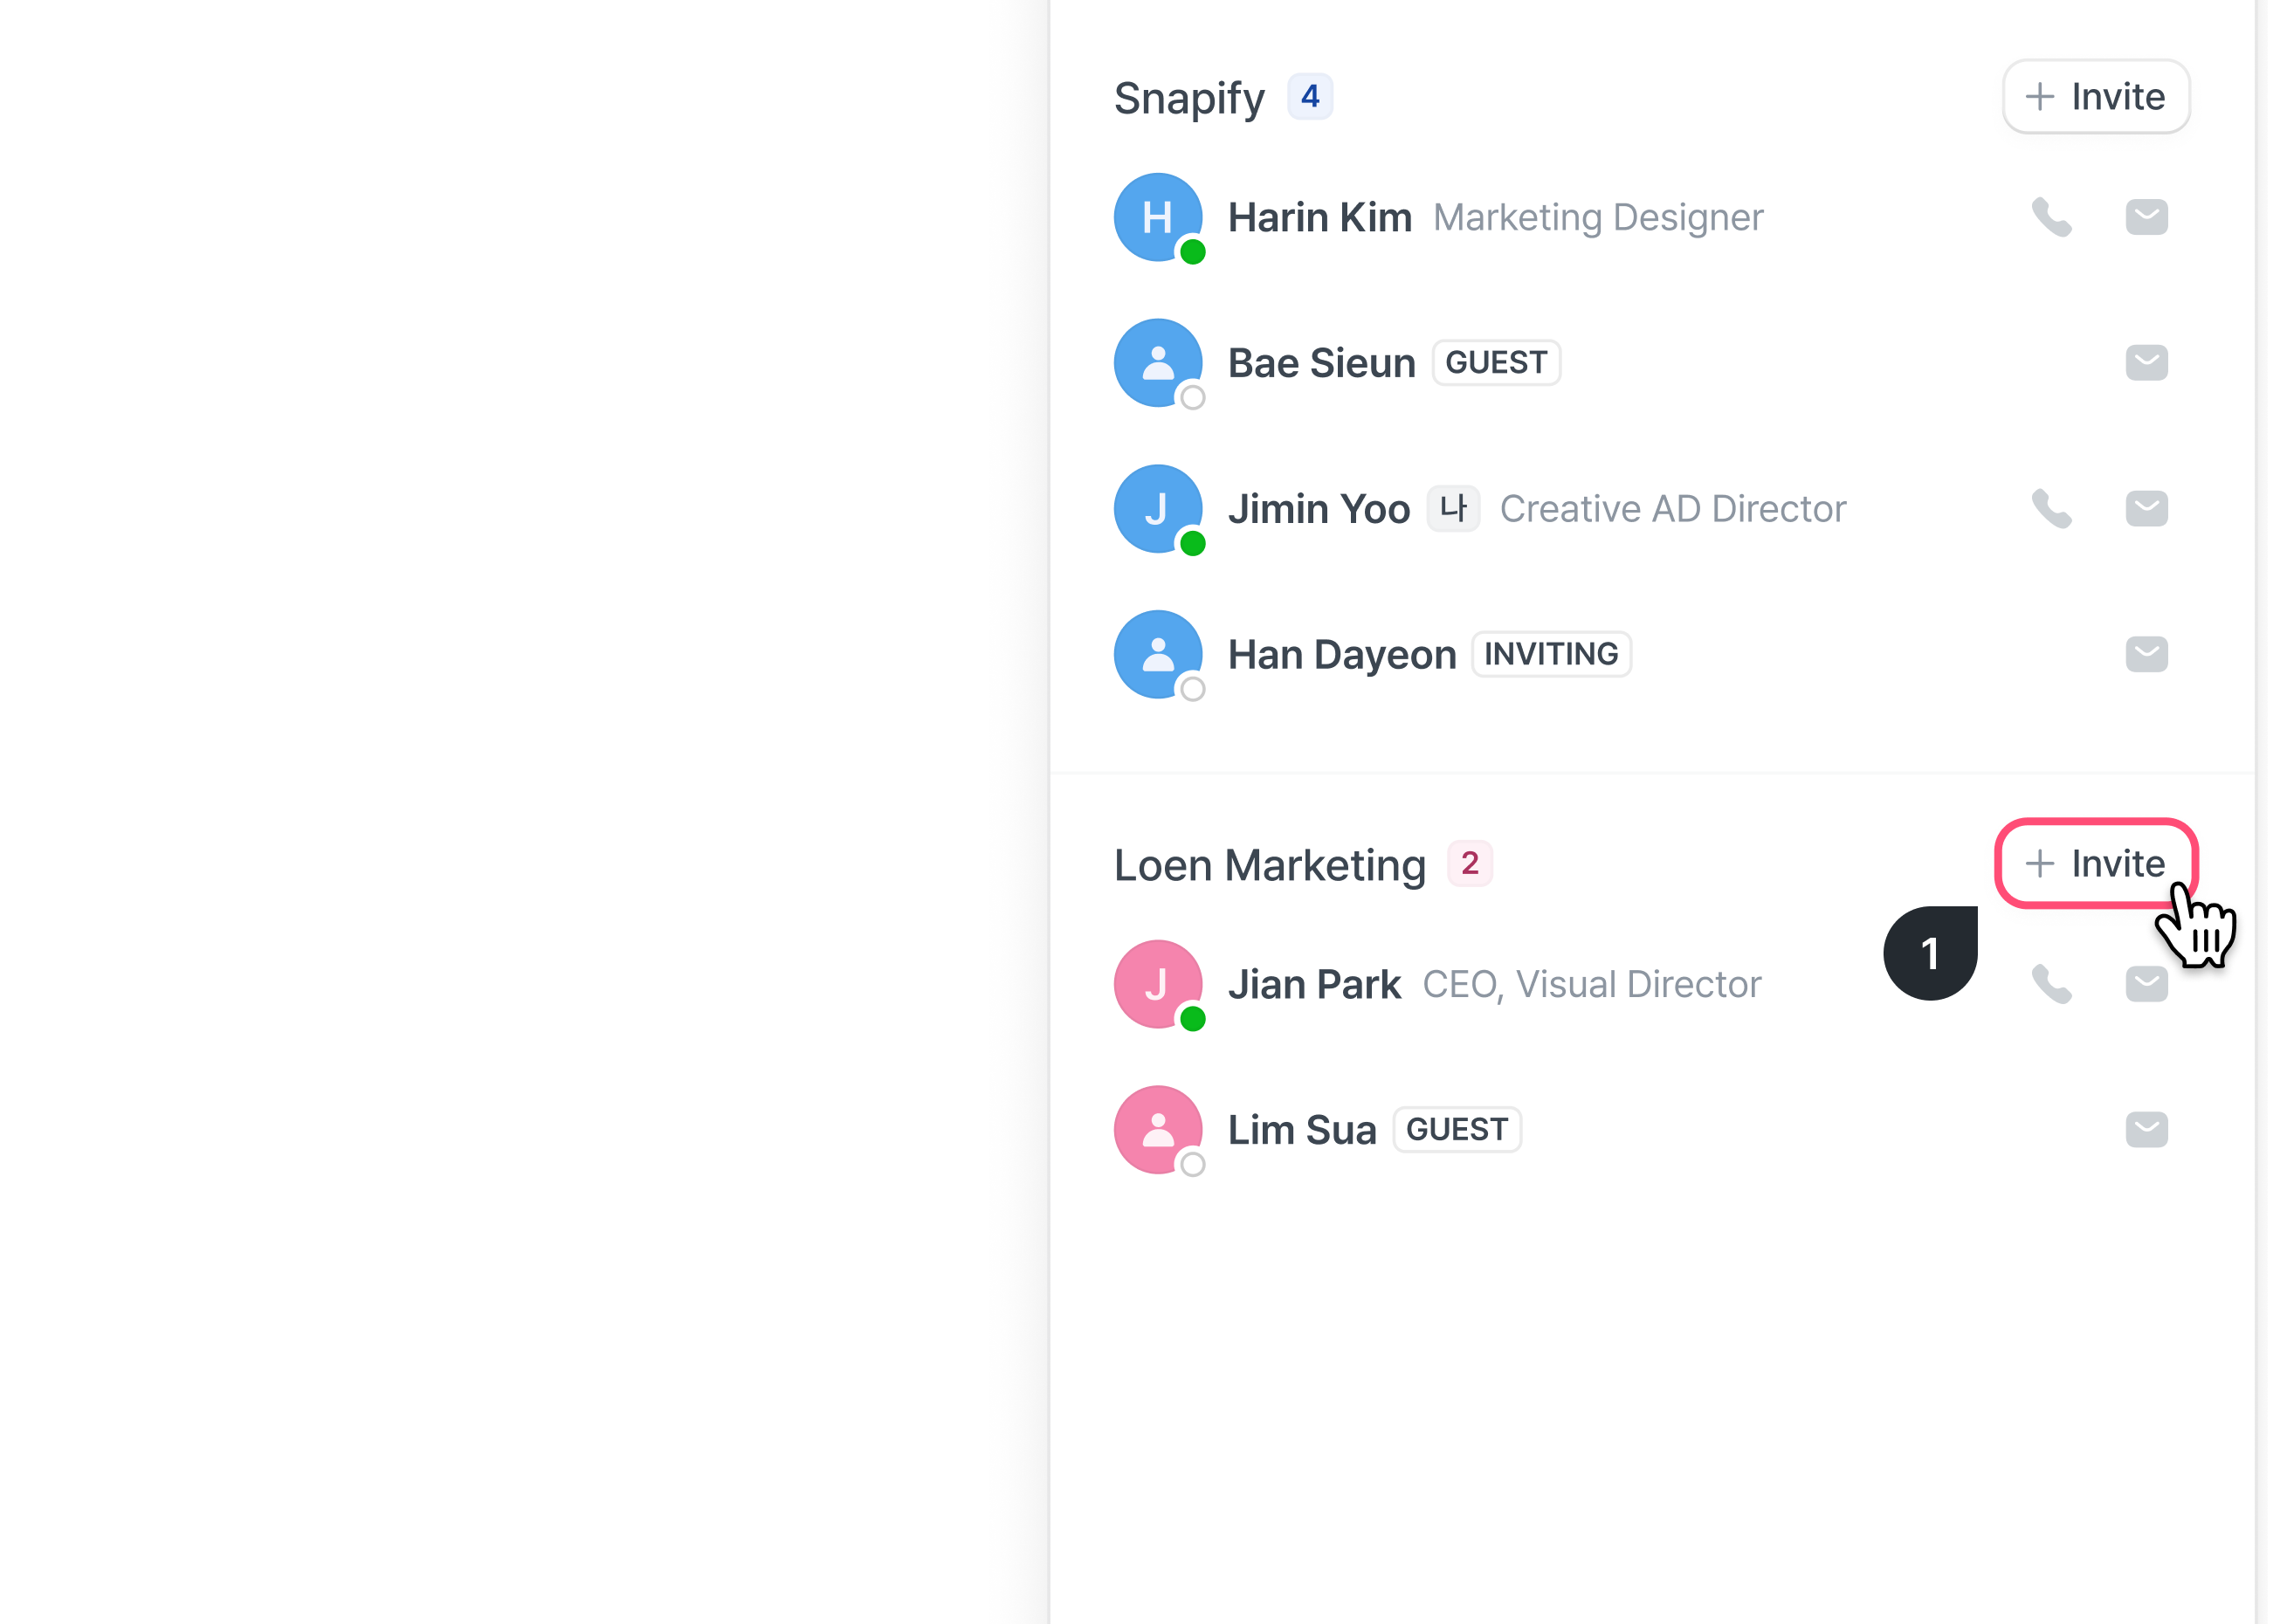
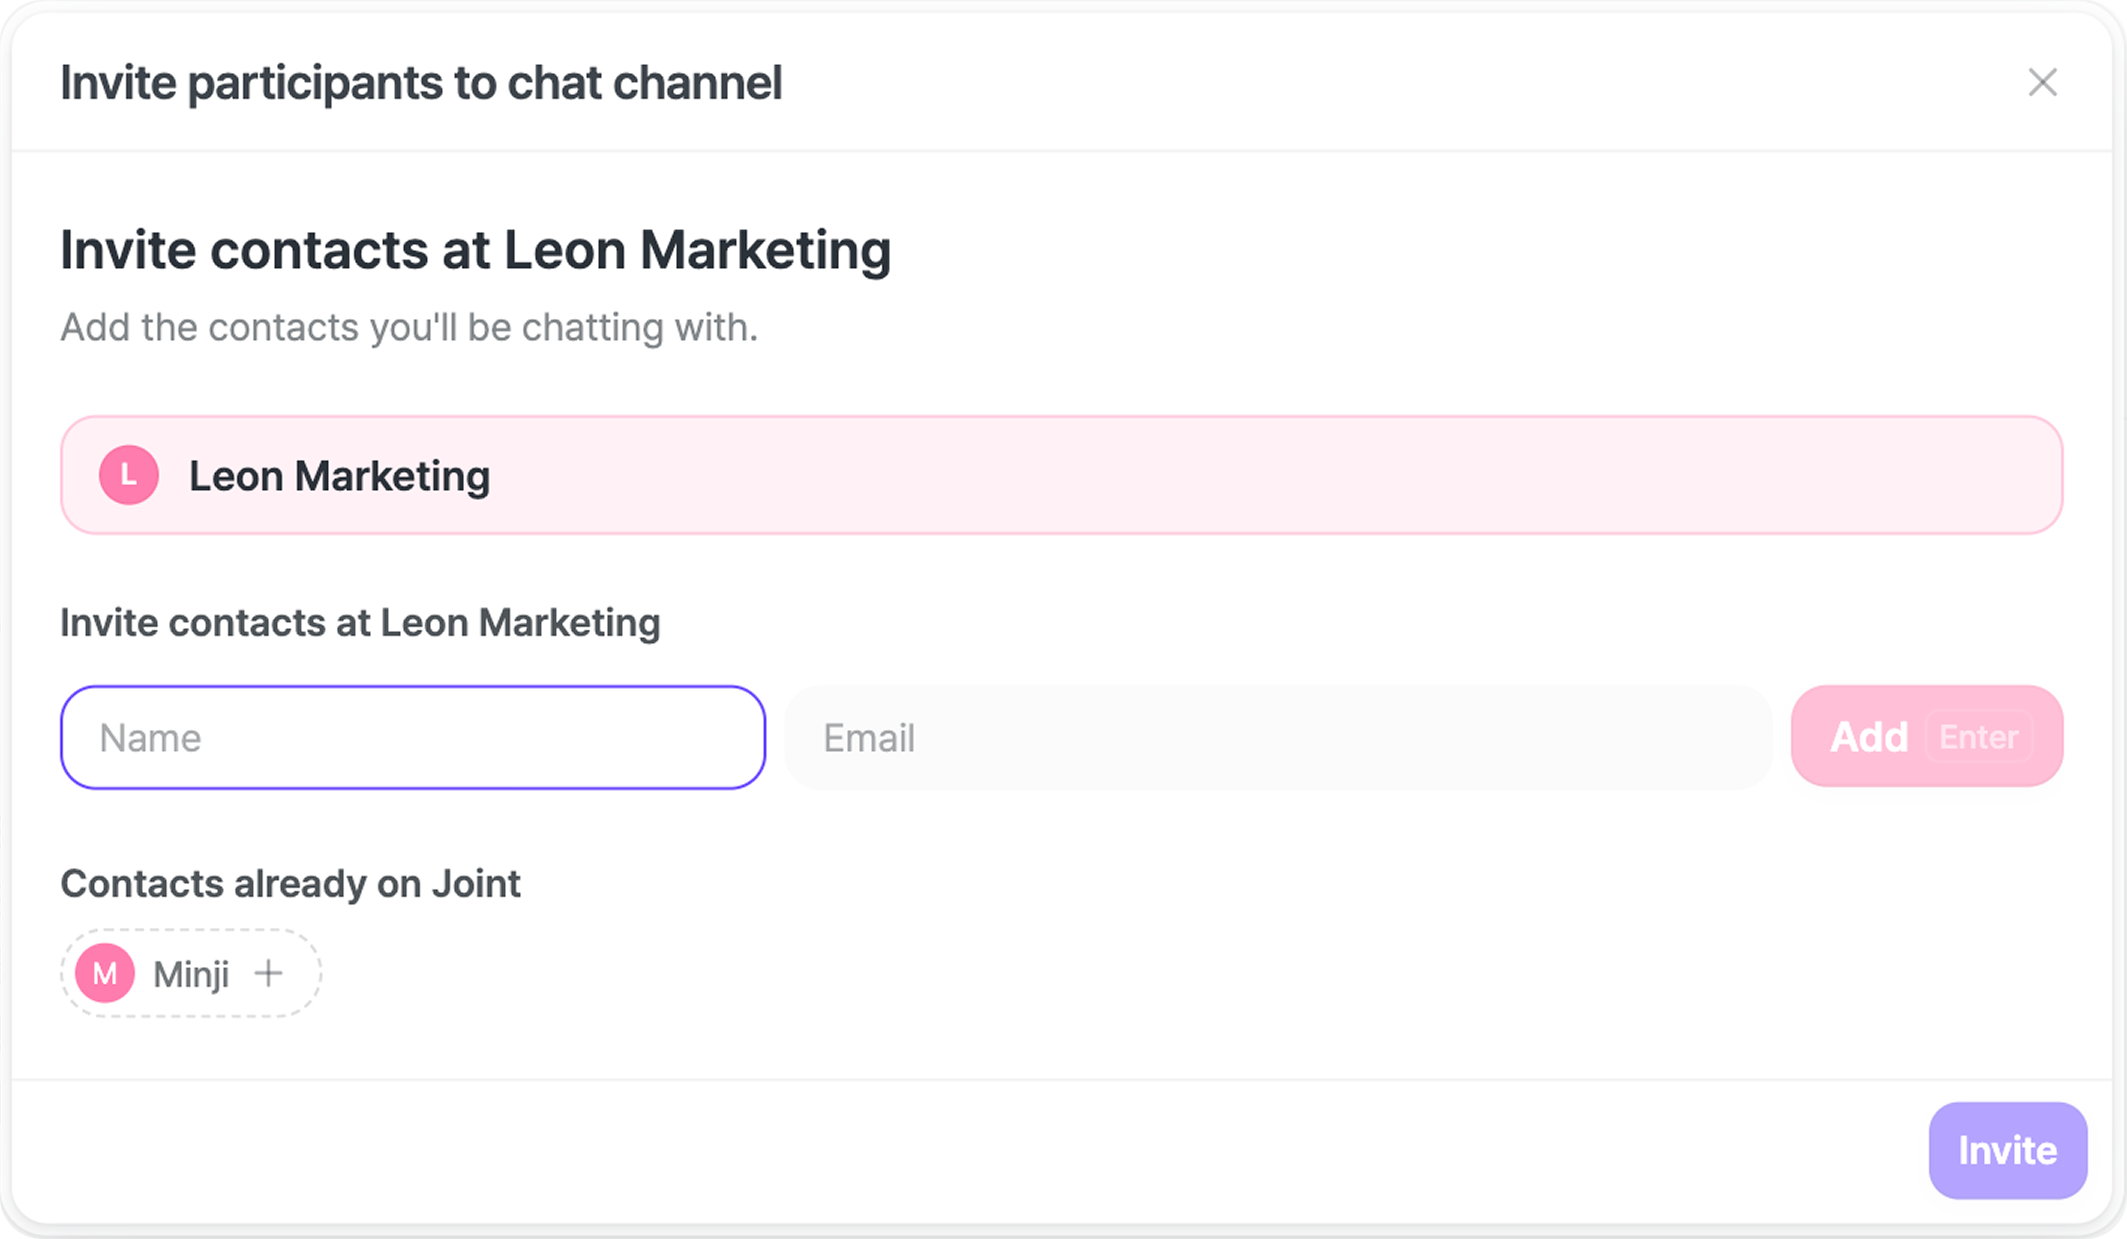
- You can invite account contacts through the [+] button on the right side of [Channel info] – [Account workspace name].
- Contacts who are already participating in another channel with your company can be selected directly from the list, while contacts you’ve never communicated with before can be invited by entering their information.
When inviting someone, make sure you’re picking the right place — whether they’re from your own company or an external account.
Inviting a new account to an existing channel
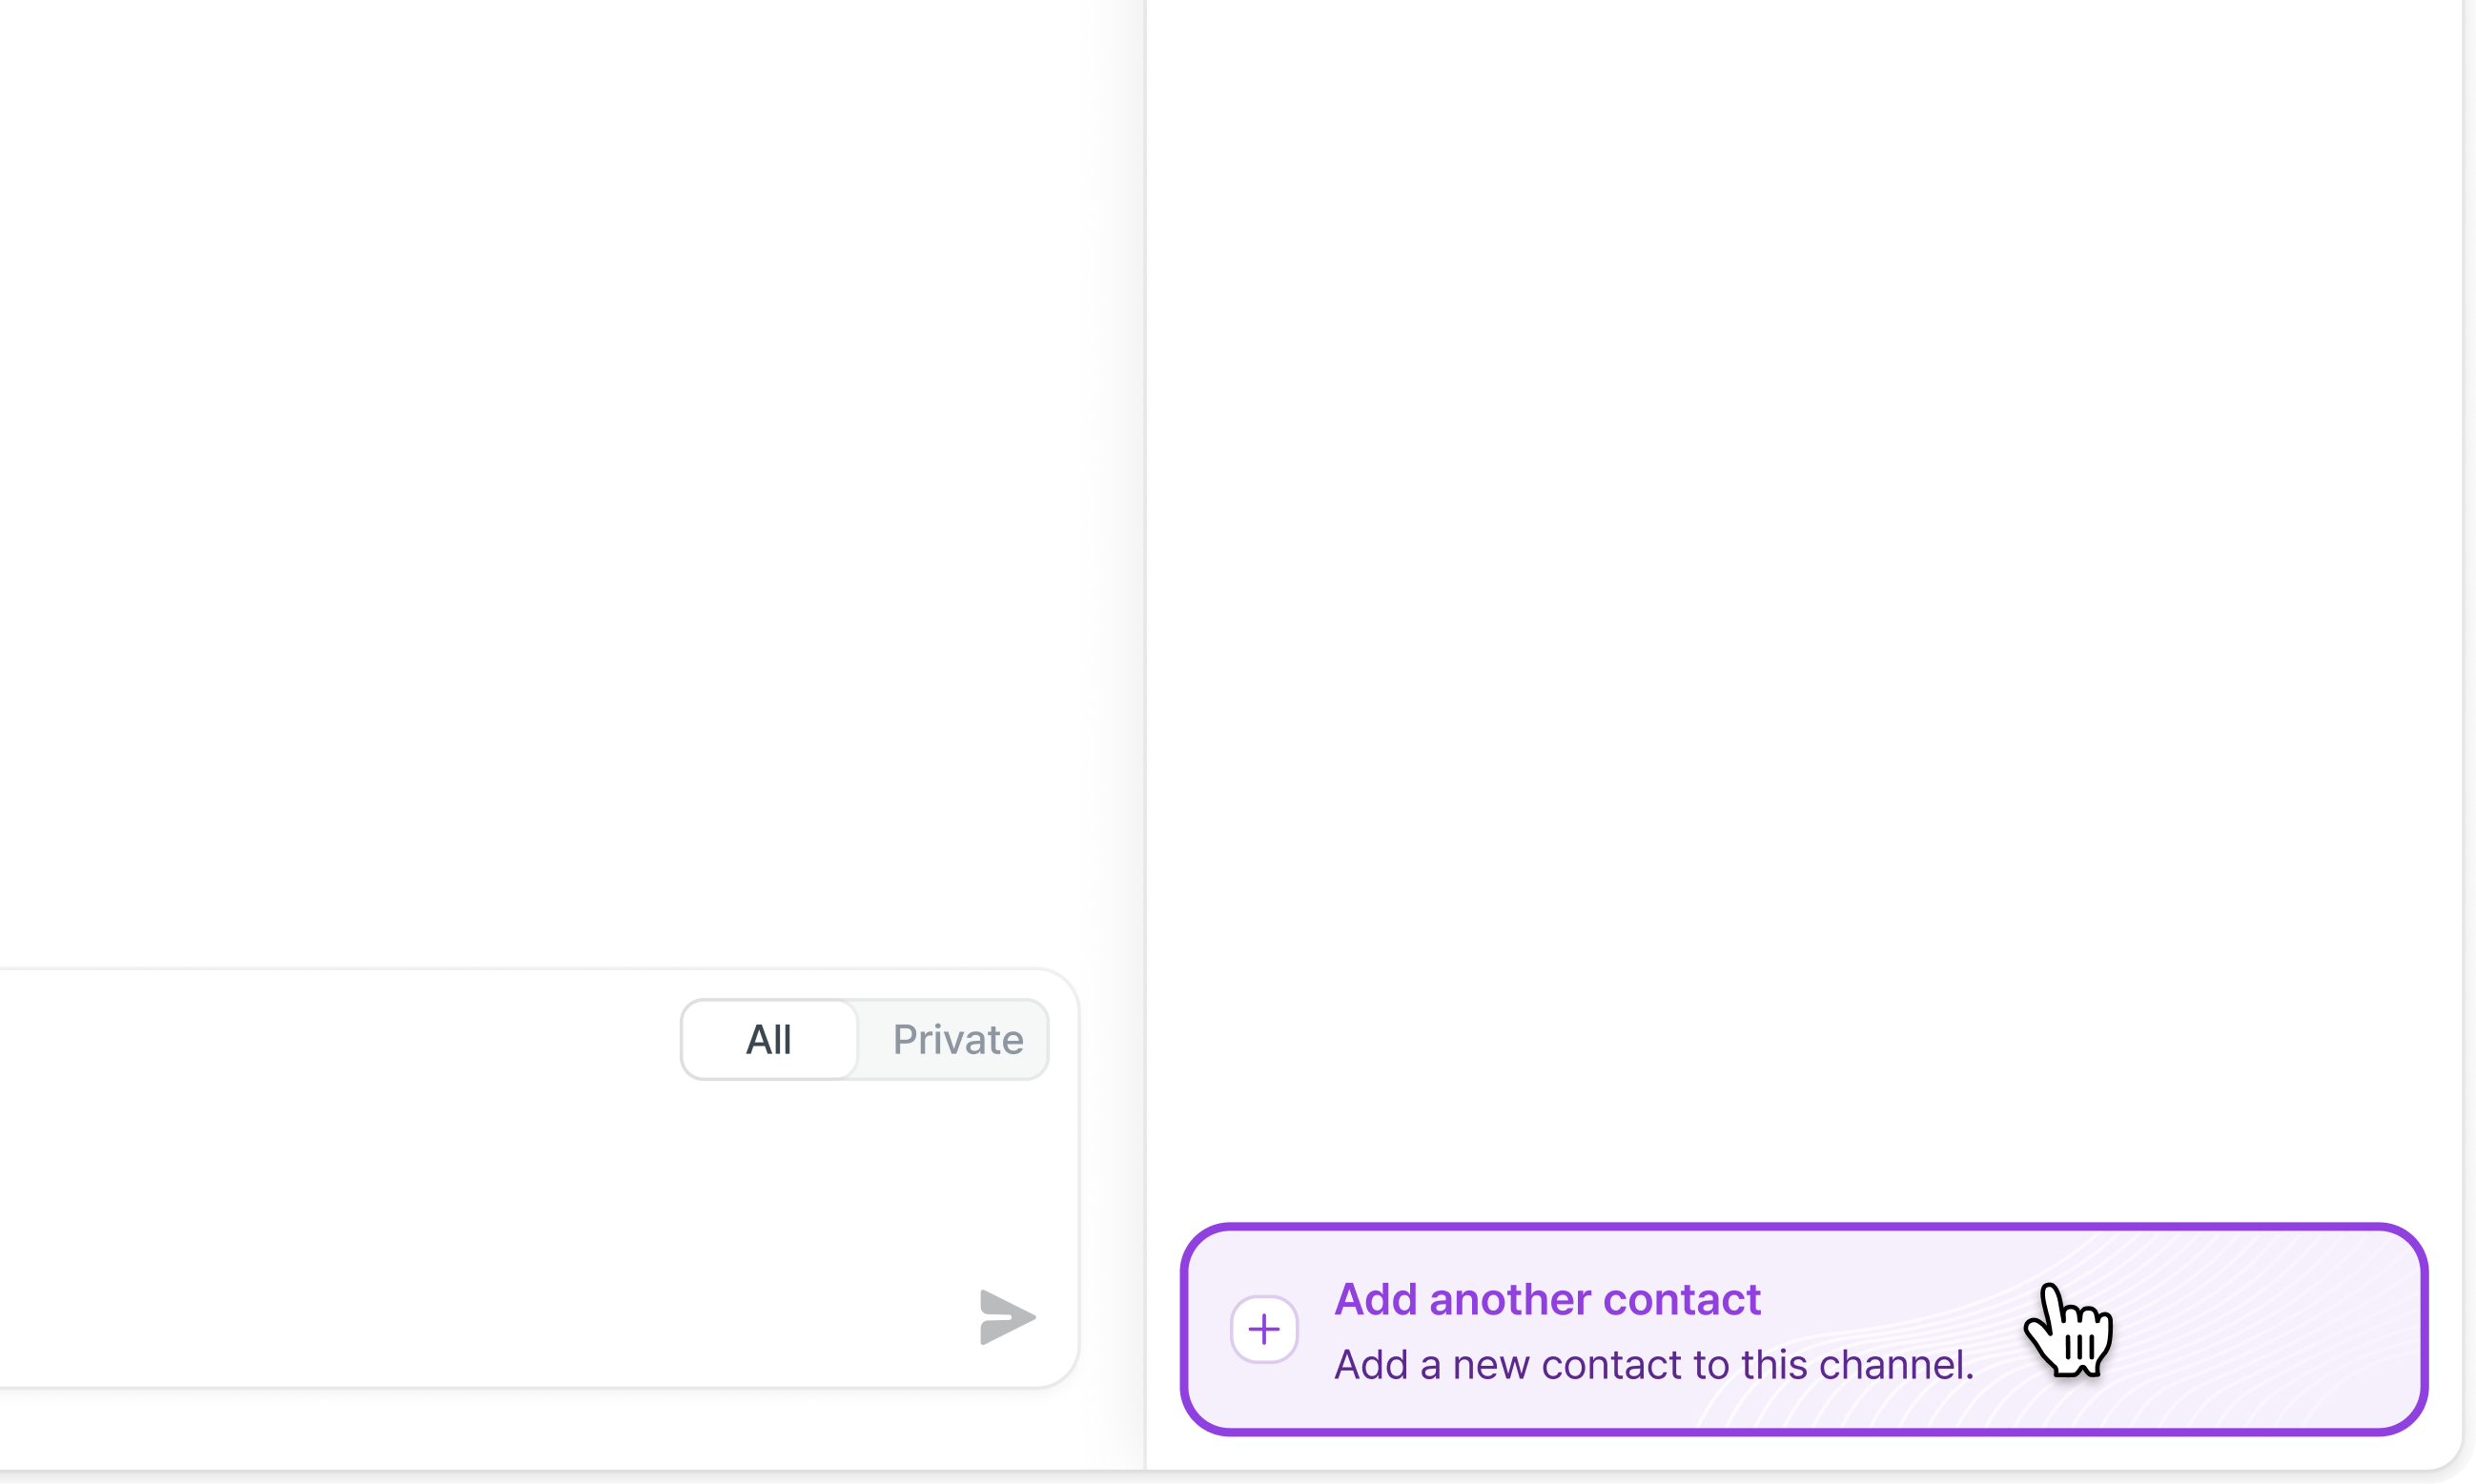

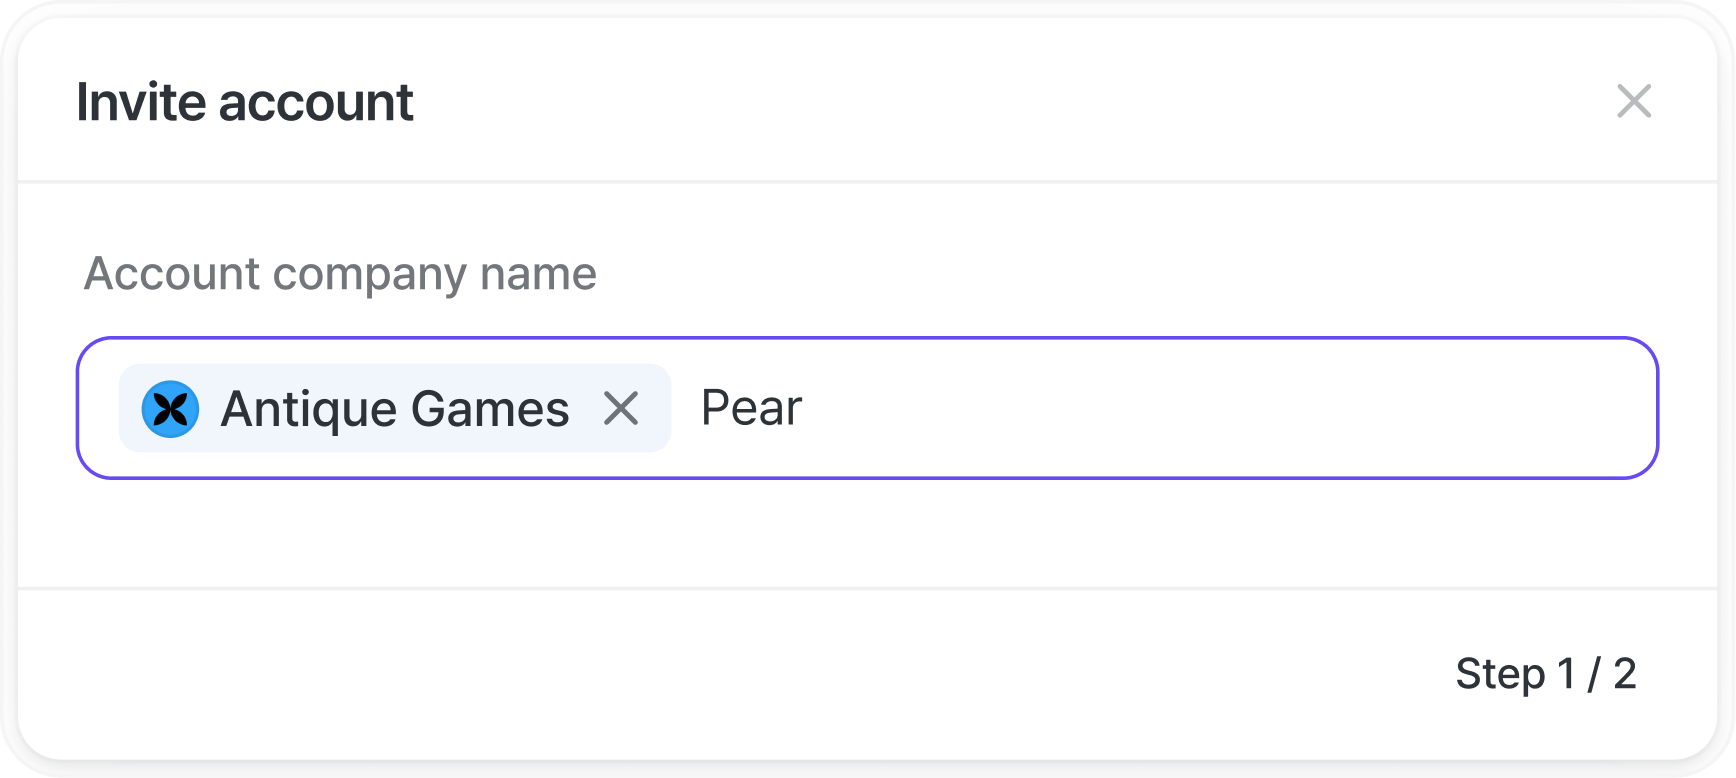
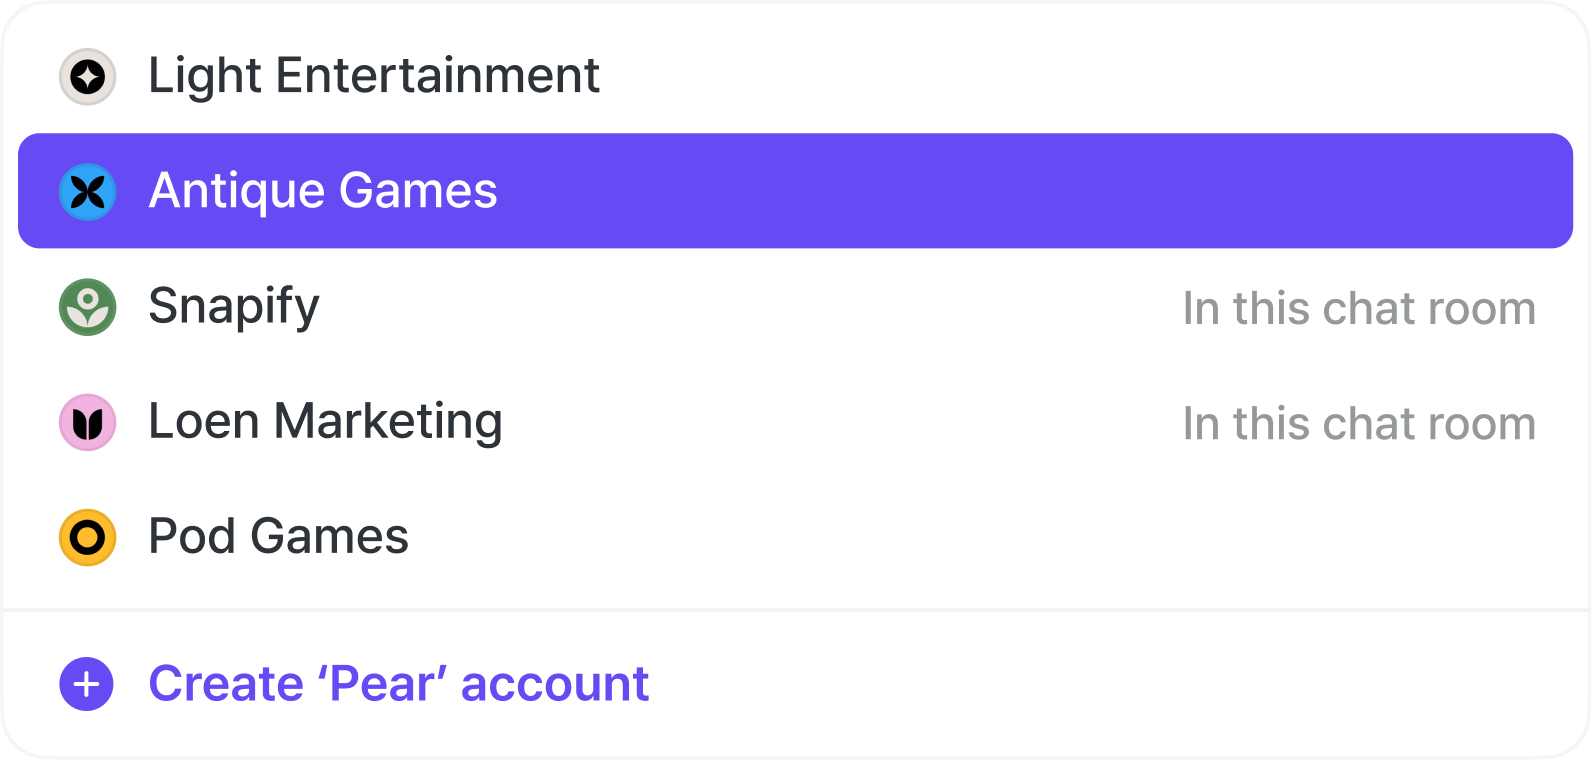

- From an existing channel, you can also add a new account via [Add another contact] at the bottom right of the screen.
- Once you enter the account’s information and send the invitation, the account will be added to the existing channel.
You can communicate with multiple accounts — three, four, or more companies — all in a single channel as needed.
Creating a new channel with an existing account
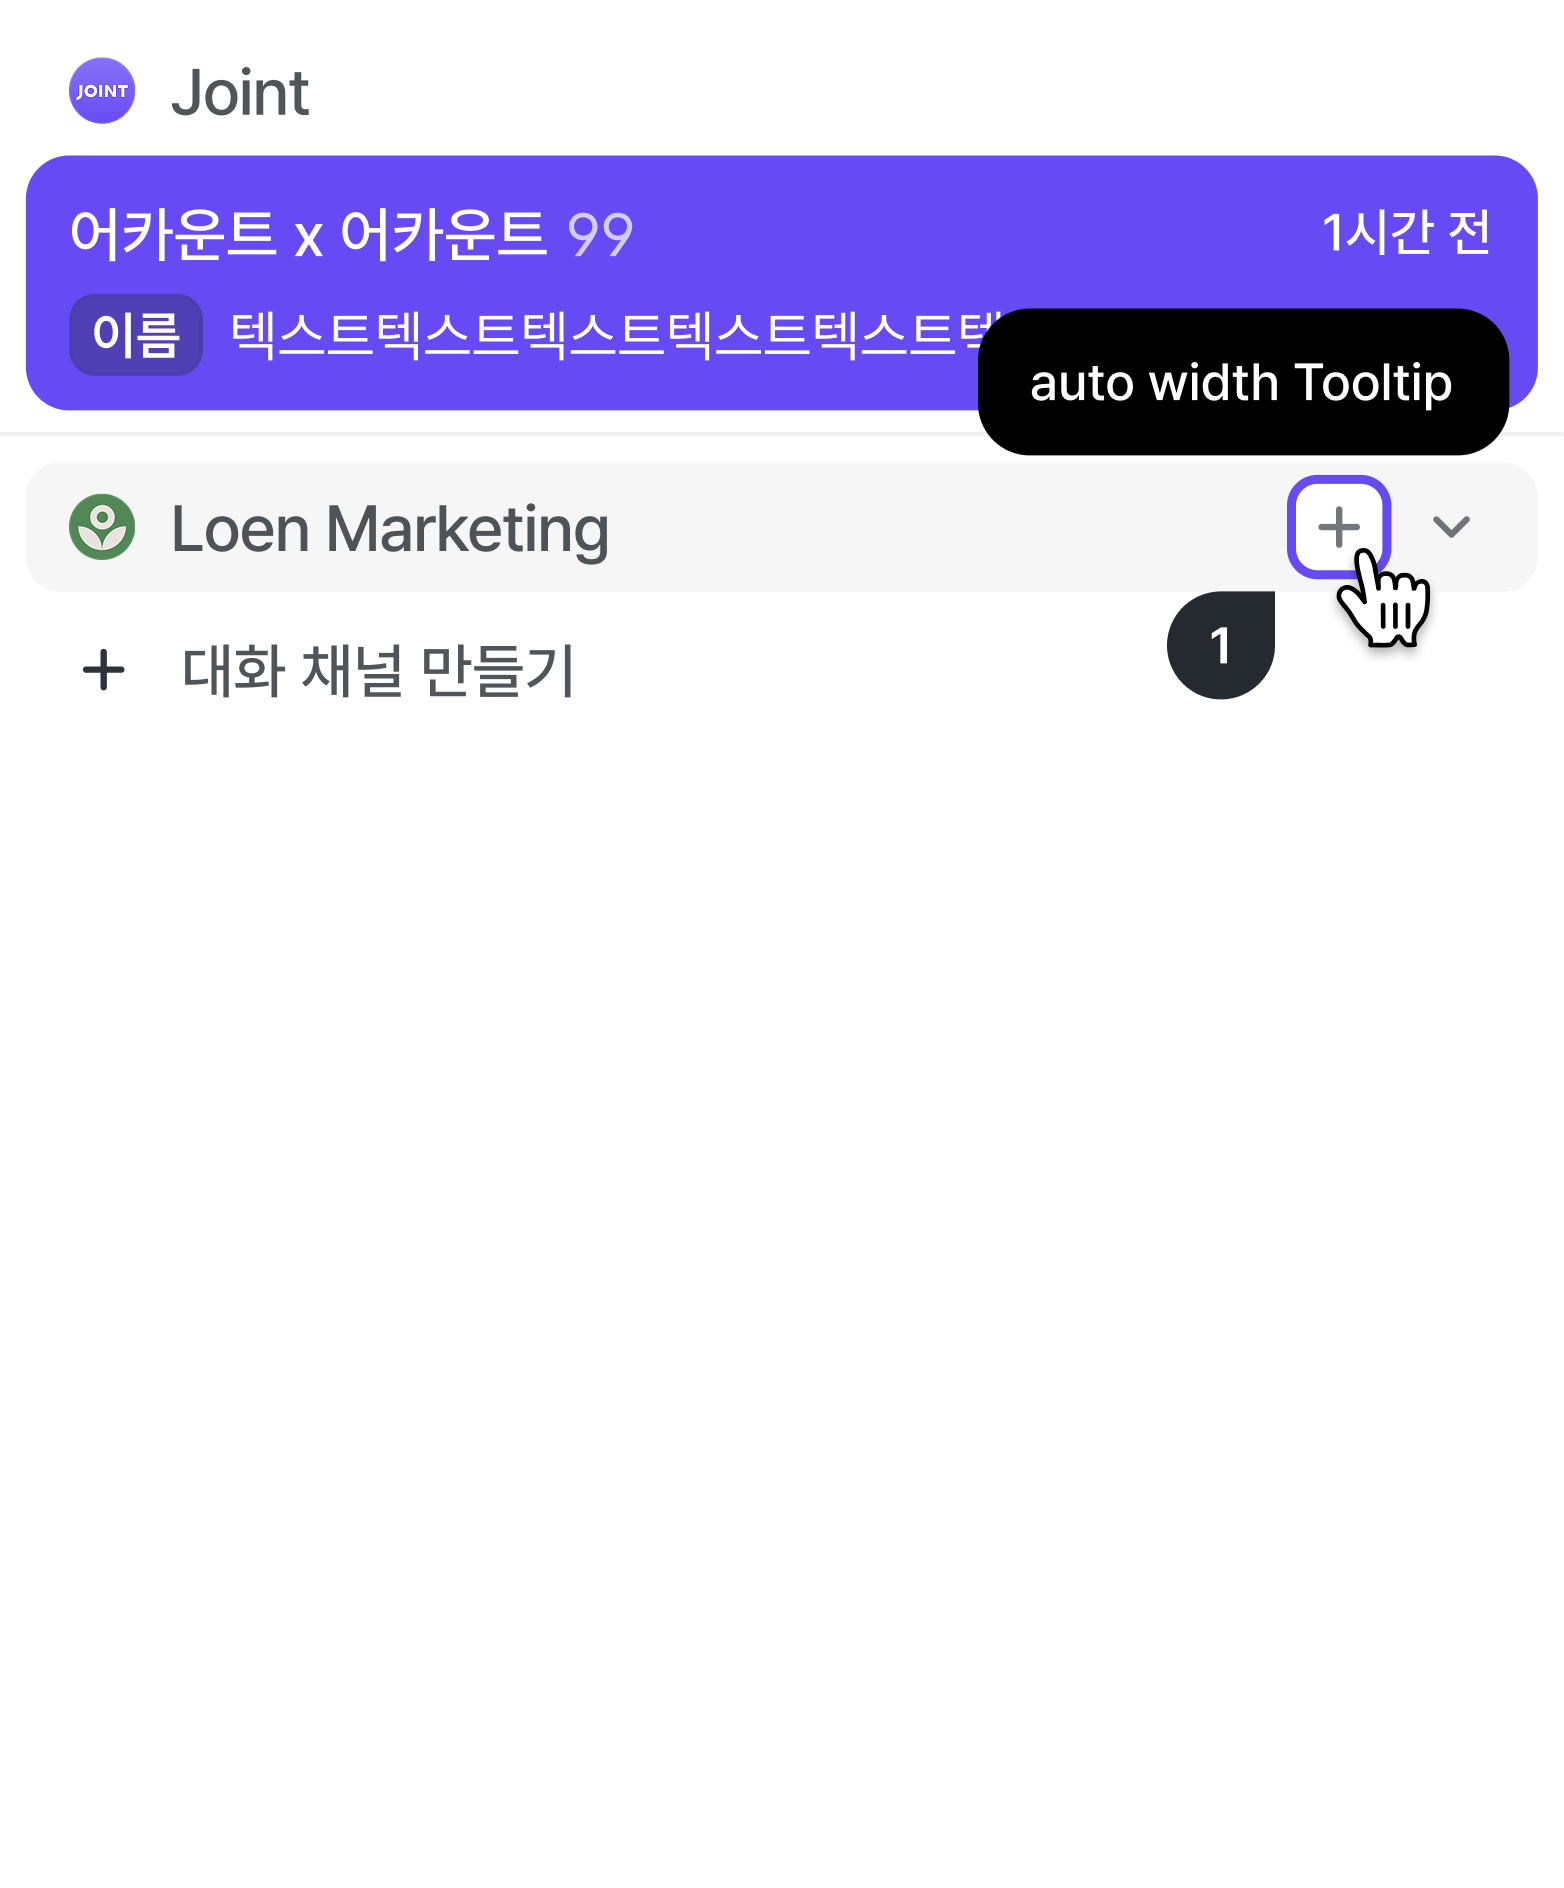
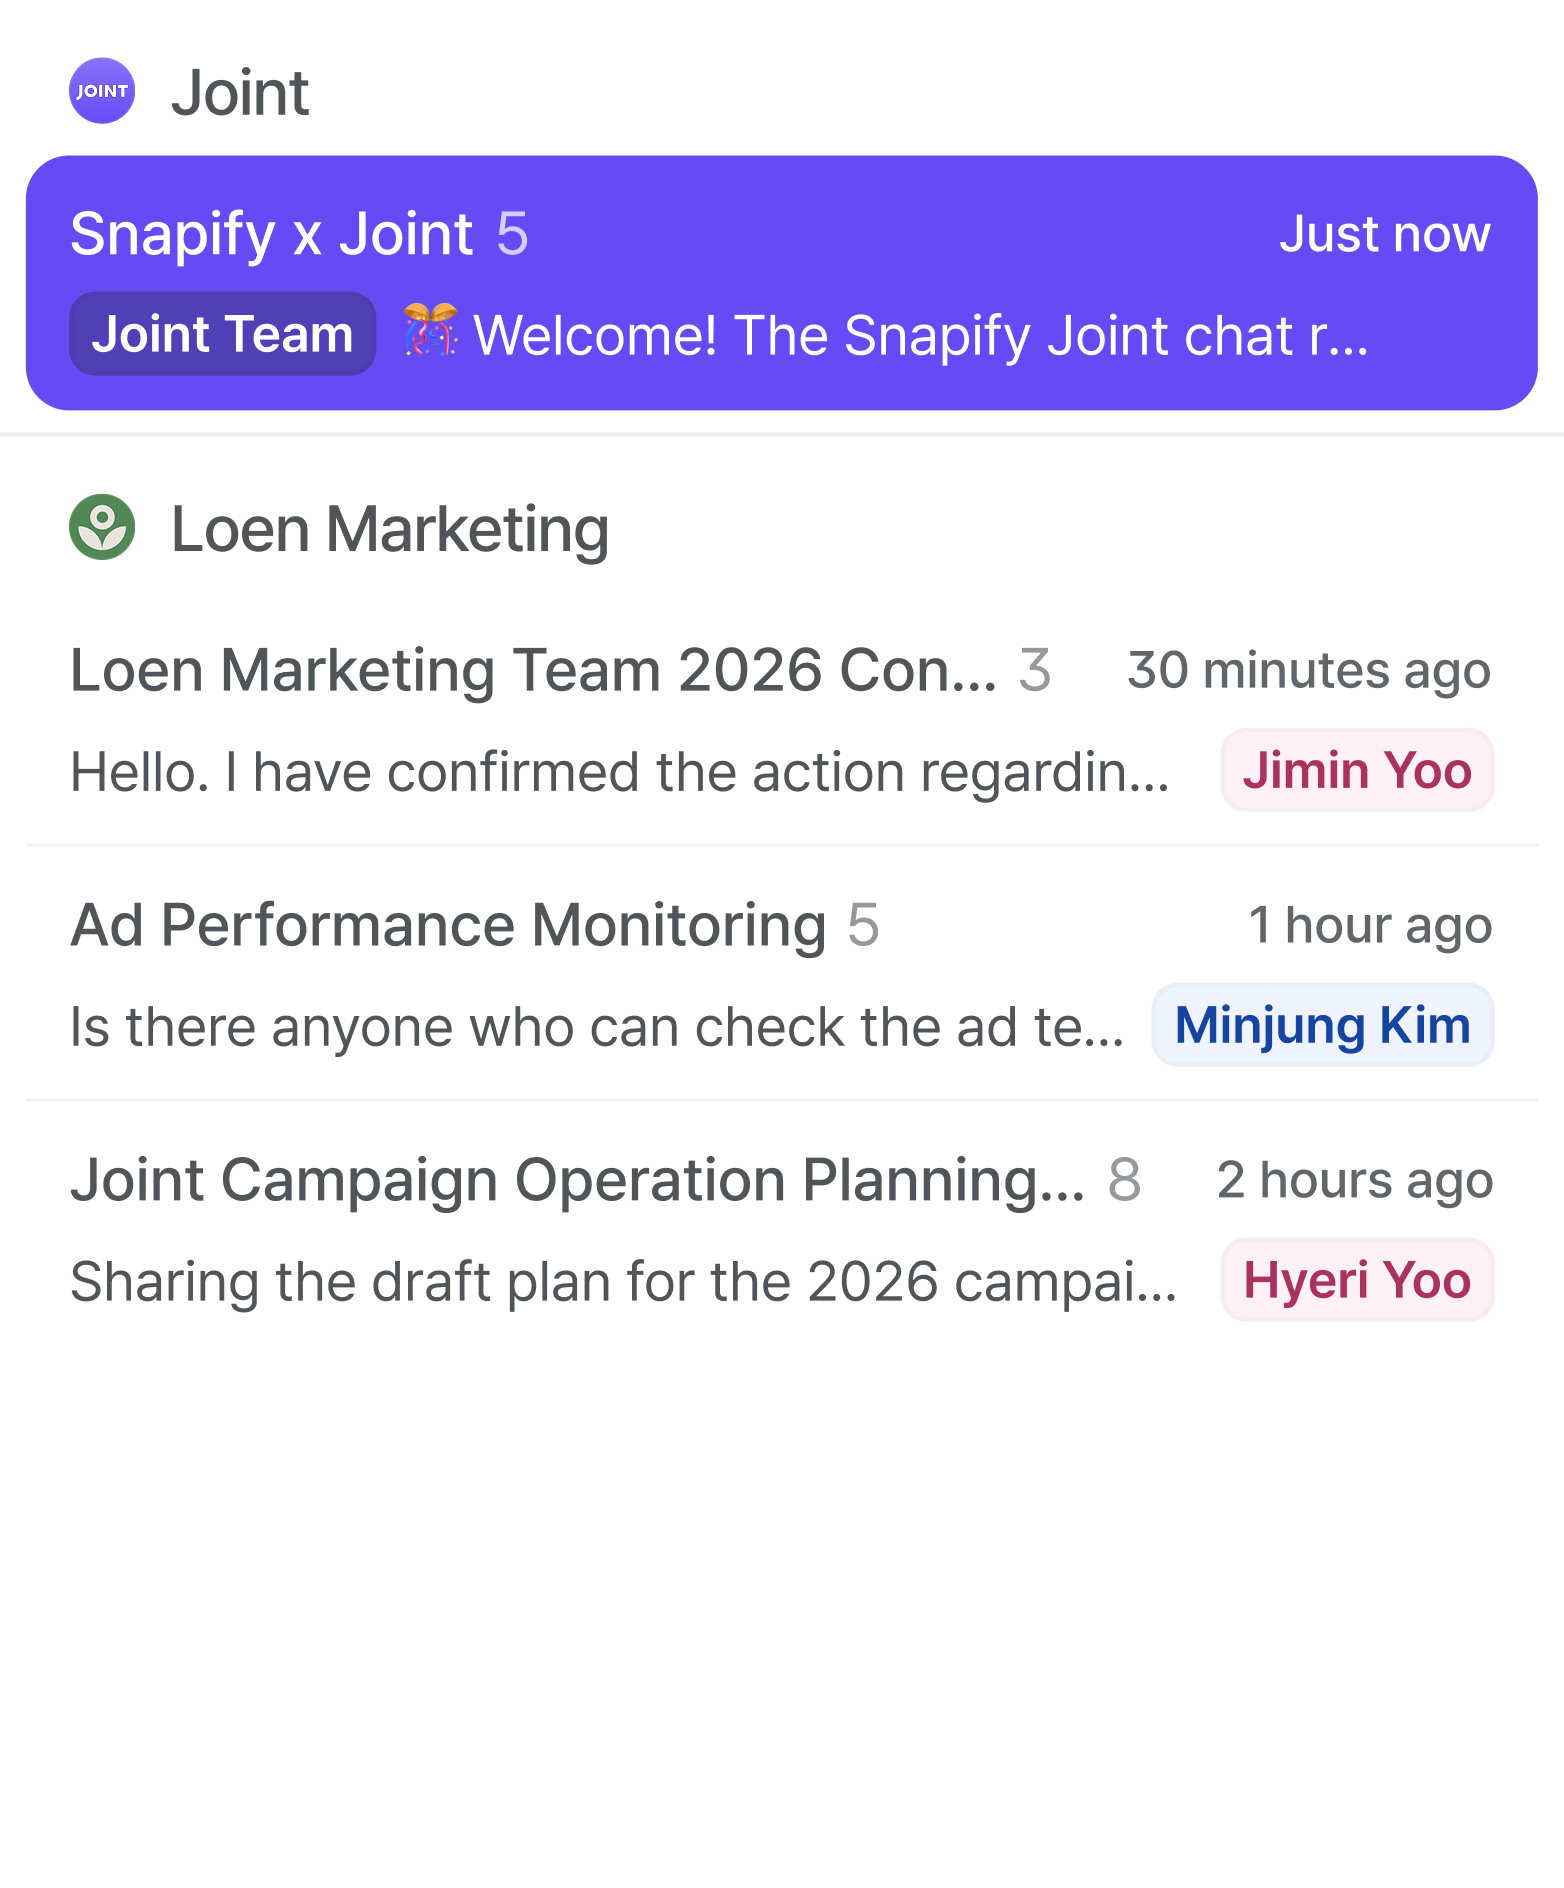
- When you want to collaborate with an existing account on a new topic, you can add a channel through the [+] button under [Account name] – [Create new channel] in the conversation list on the left.
- You can create two, three, or more channels per account, organized by topic, as needed.
Creating a channel while registering a new account
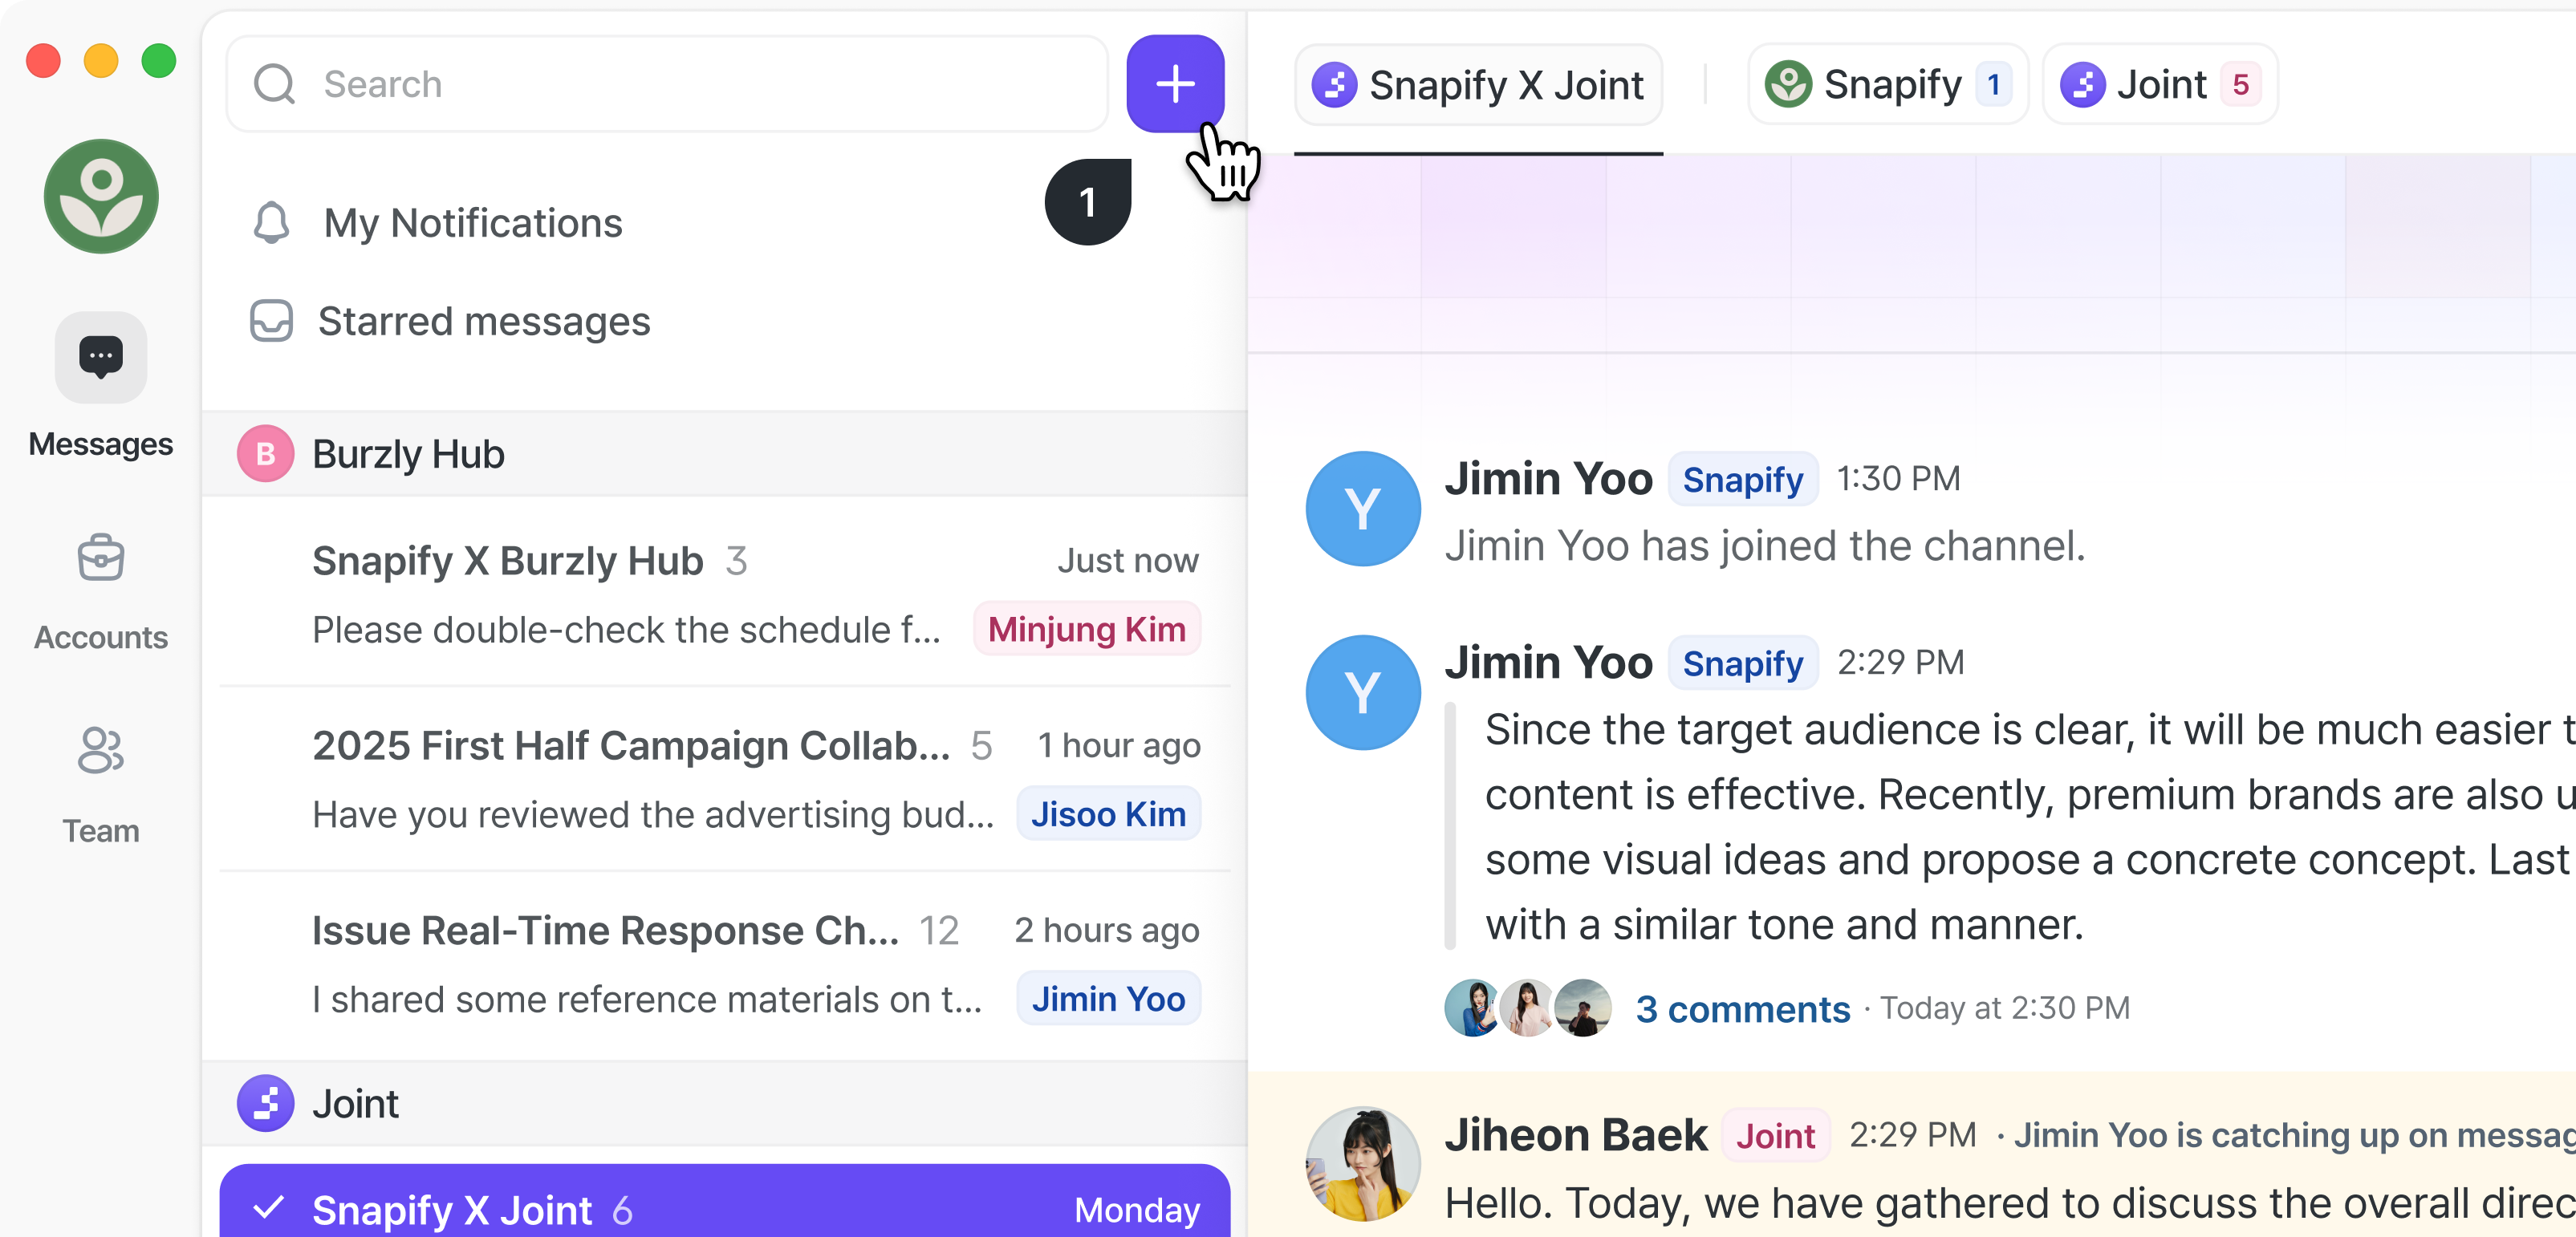
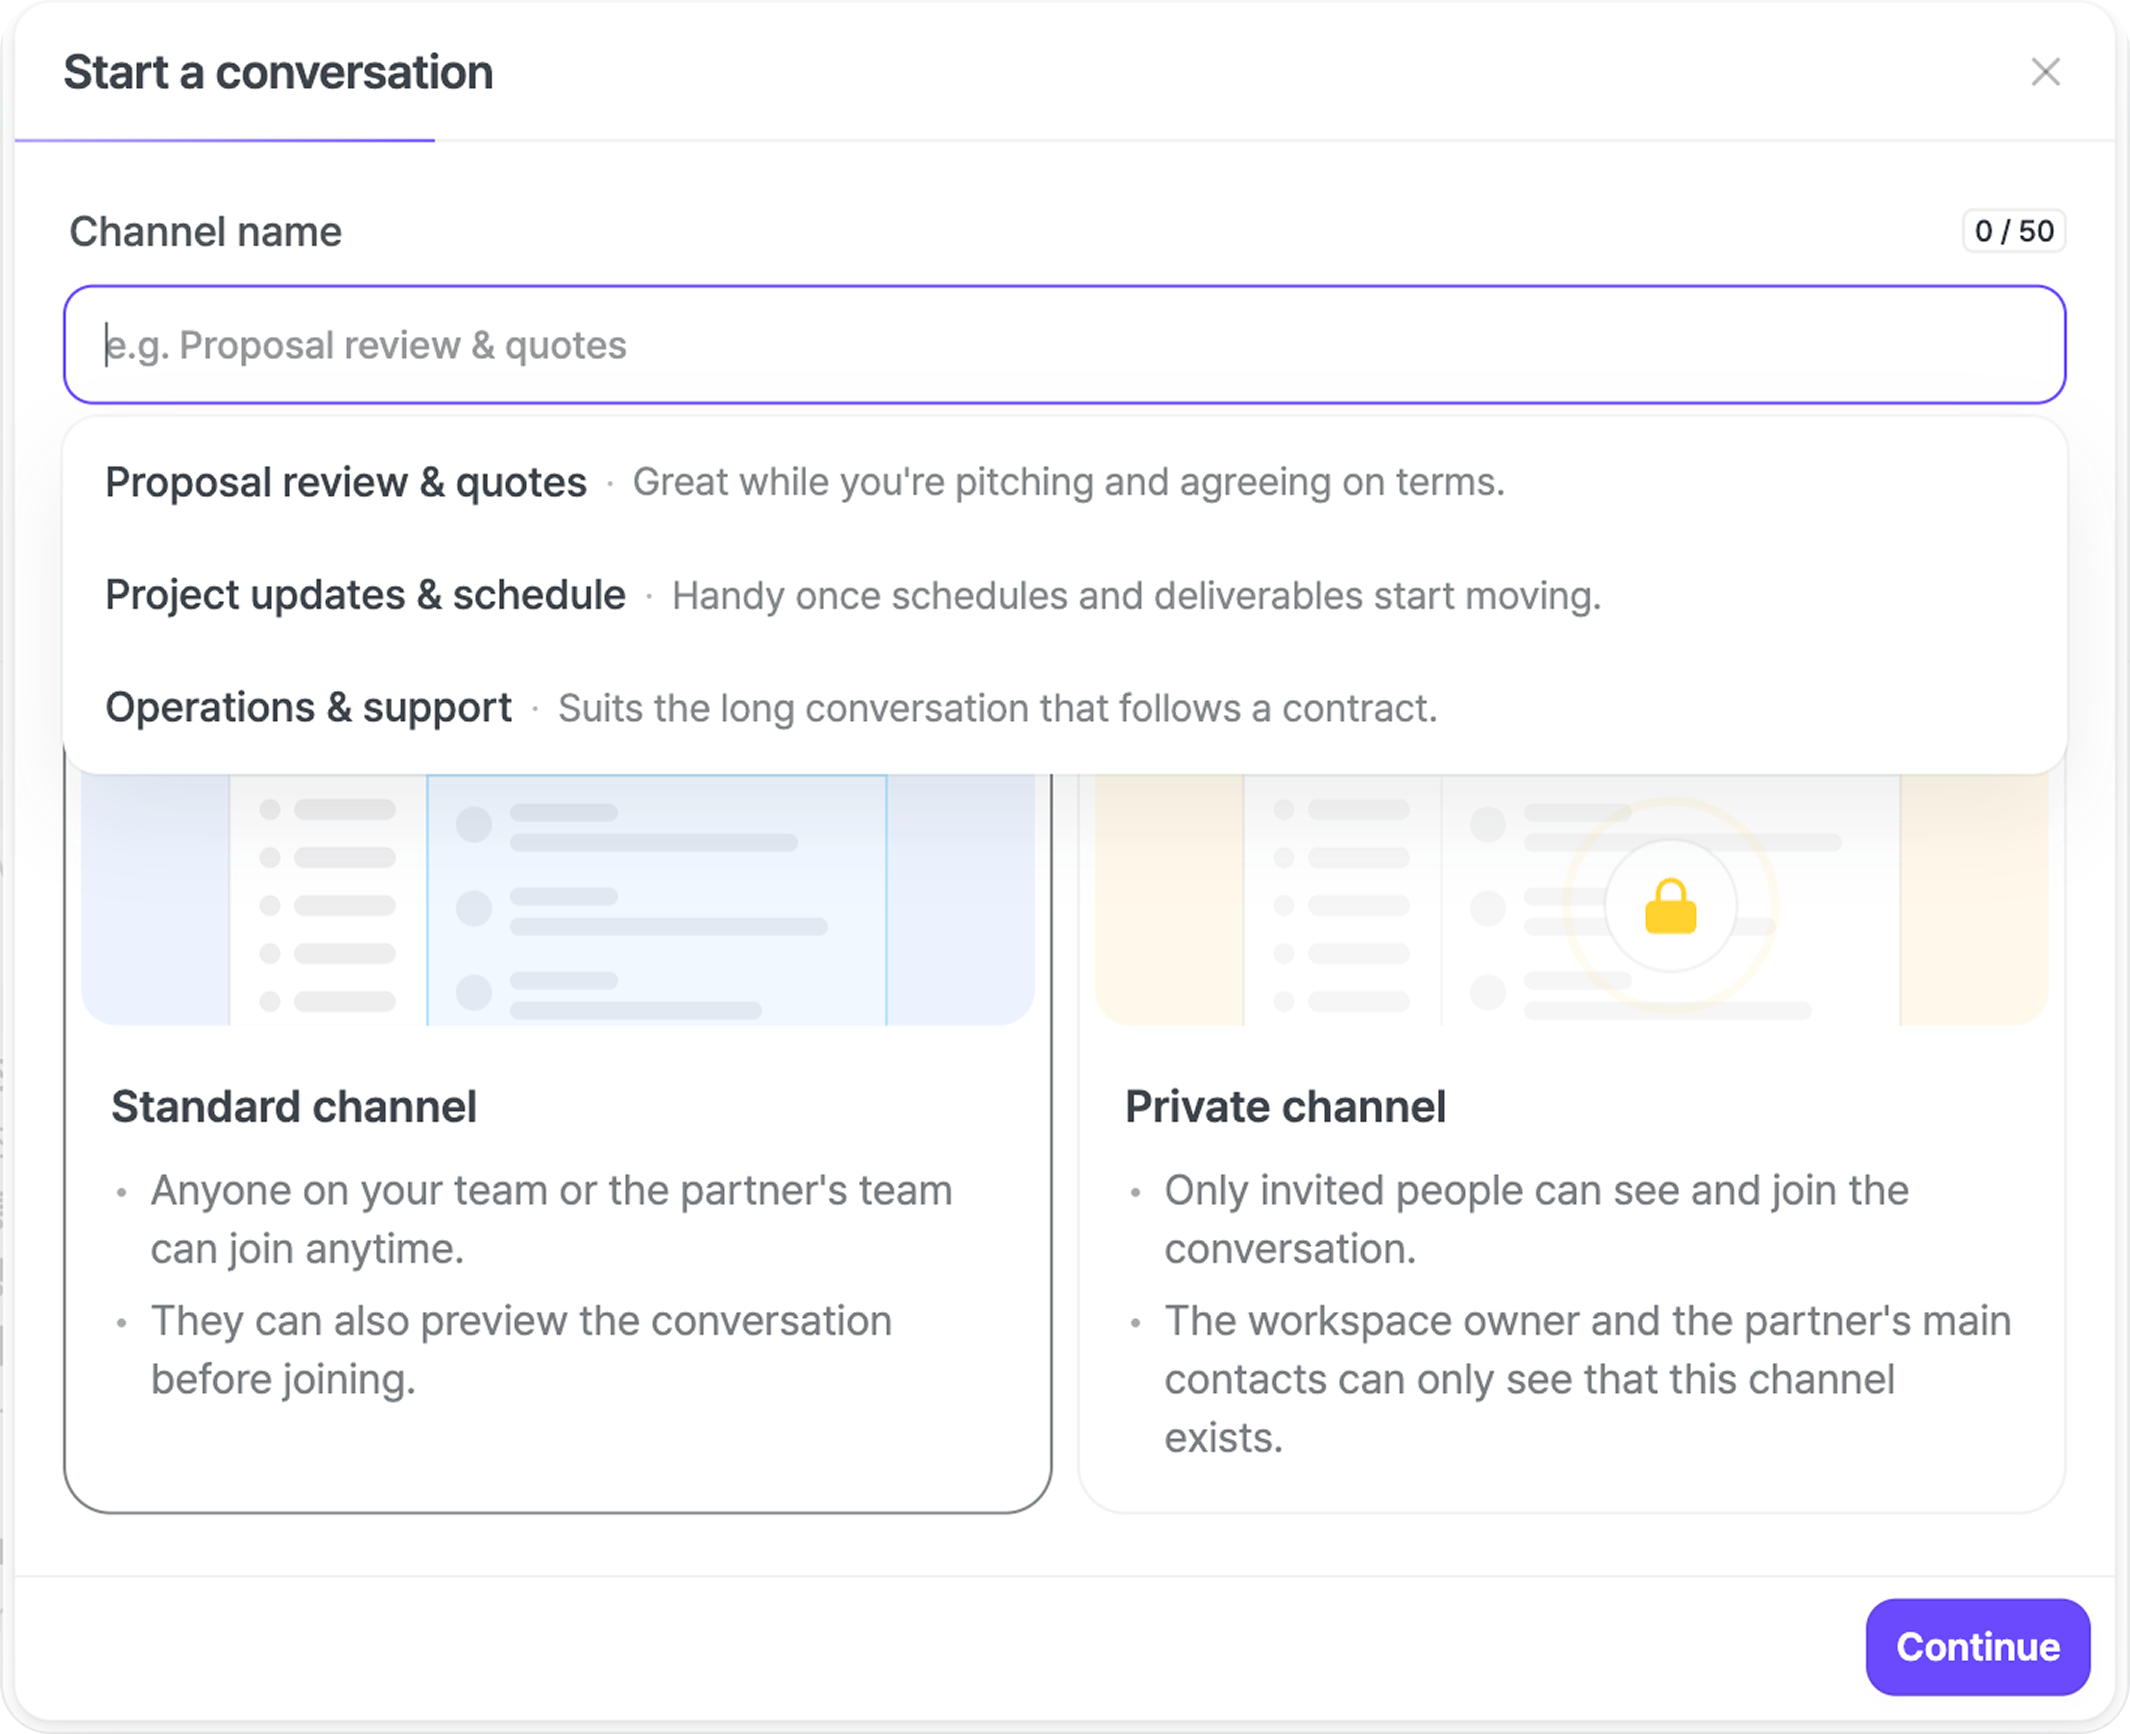
- Use the purple [+] button at the top of the conversation list on the left to register a new account and create a channel to invite them to.
- Enter the account’s company name and the channel title, then invite the necessary participants from both companies.
Creating a private channel
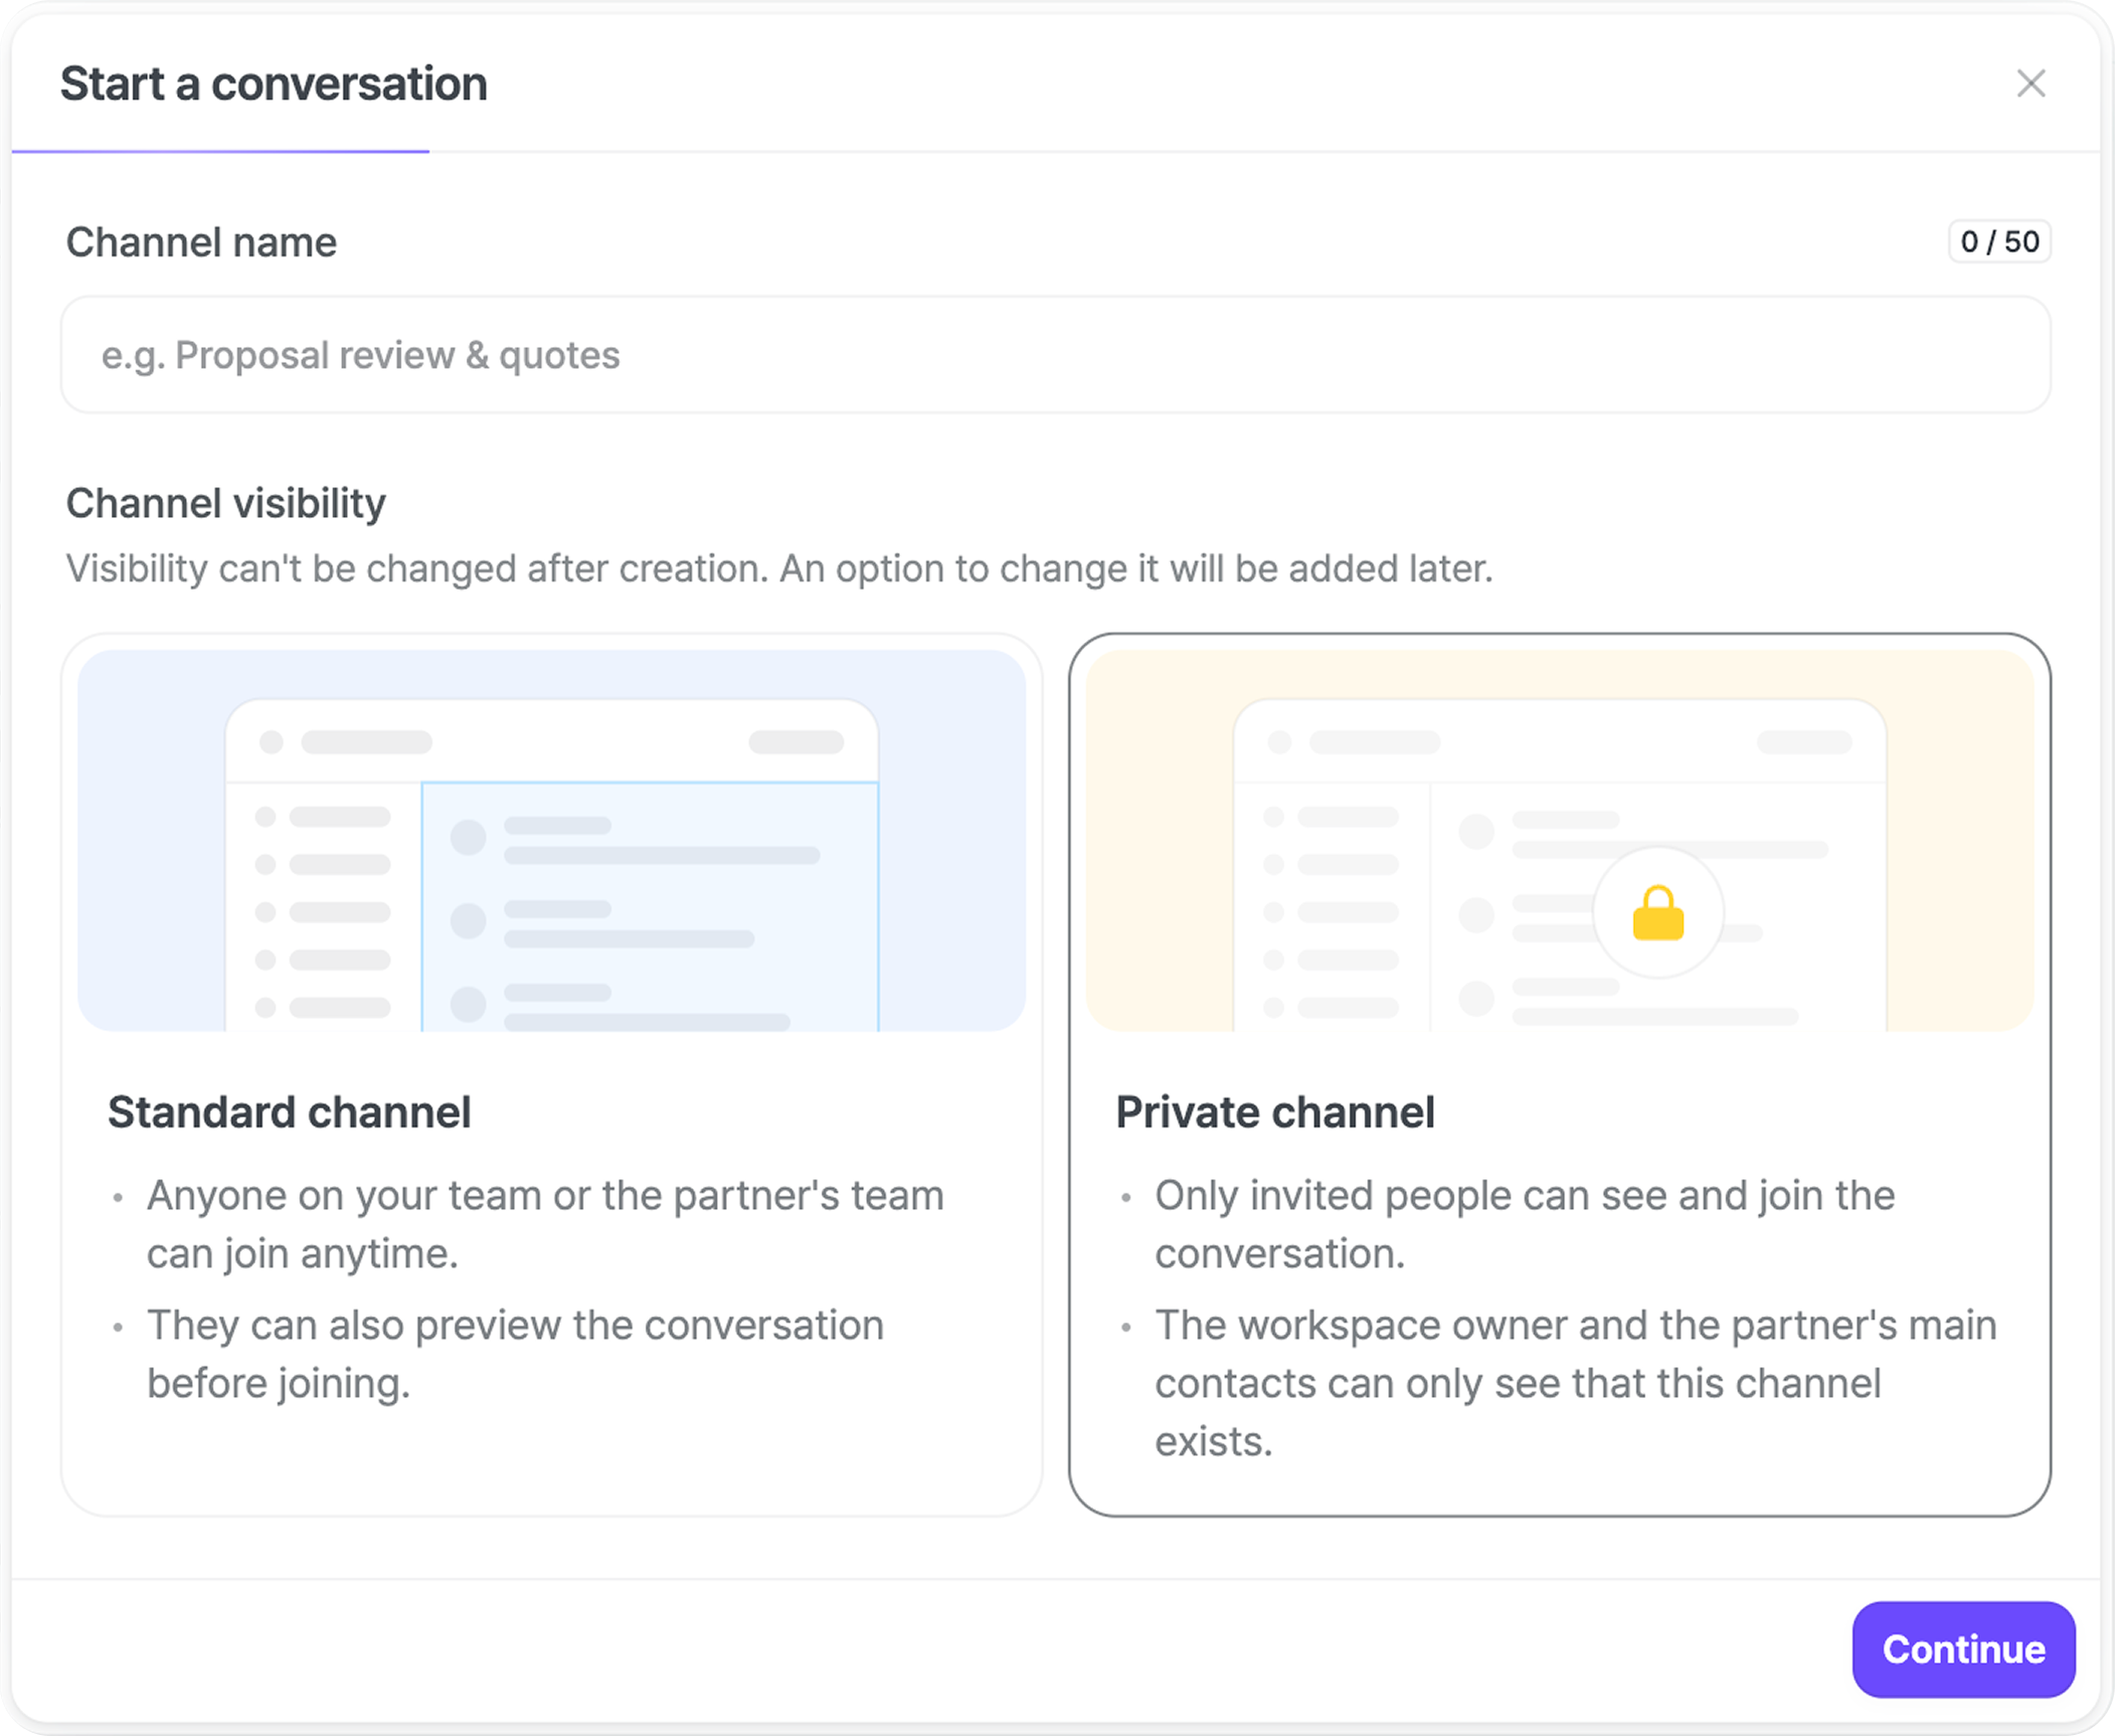

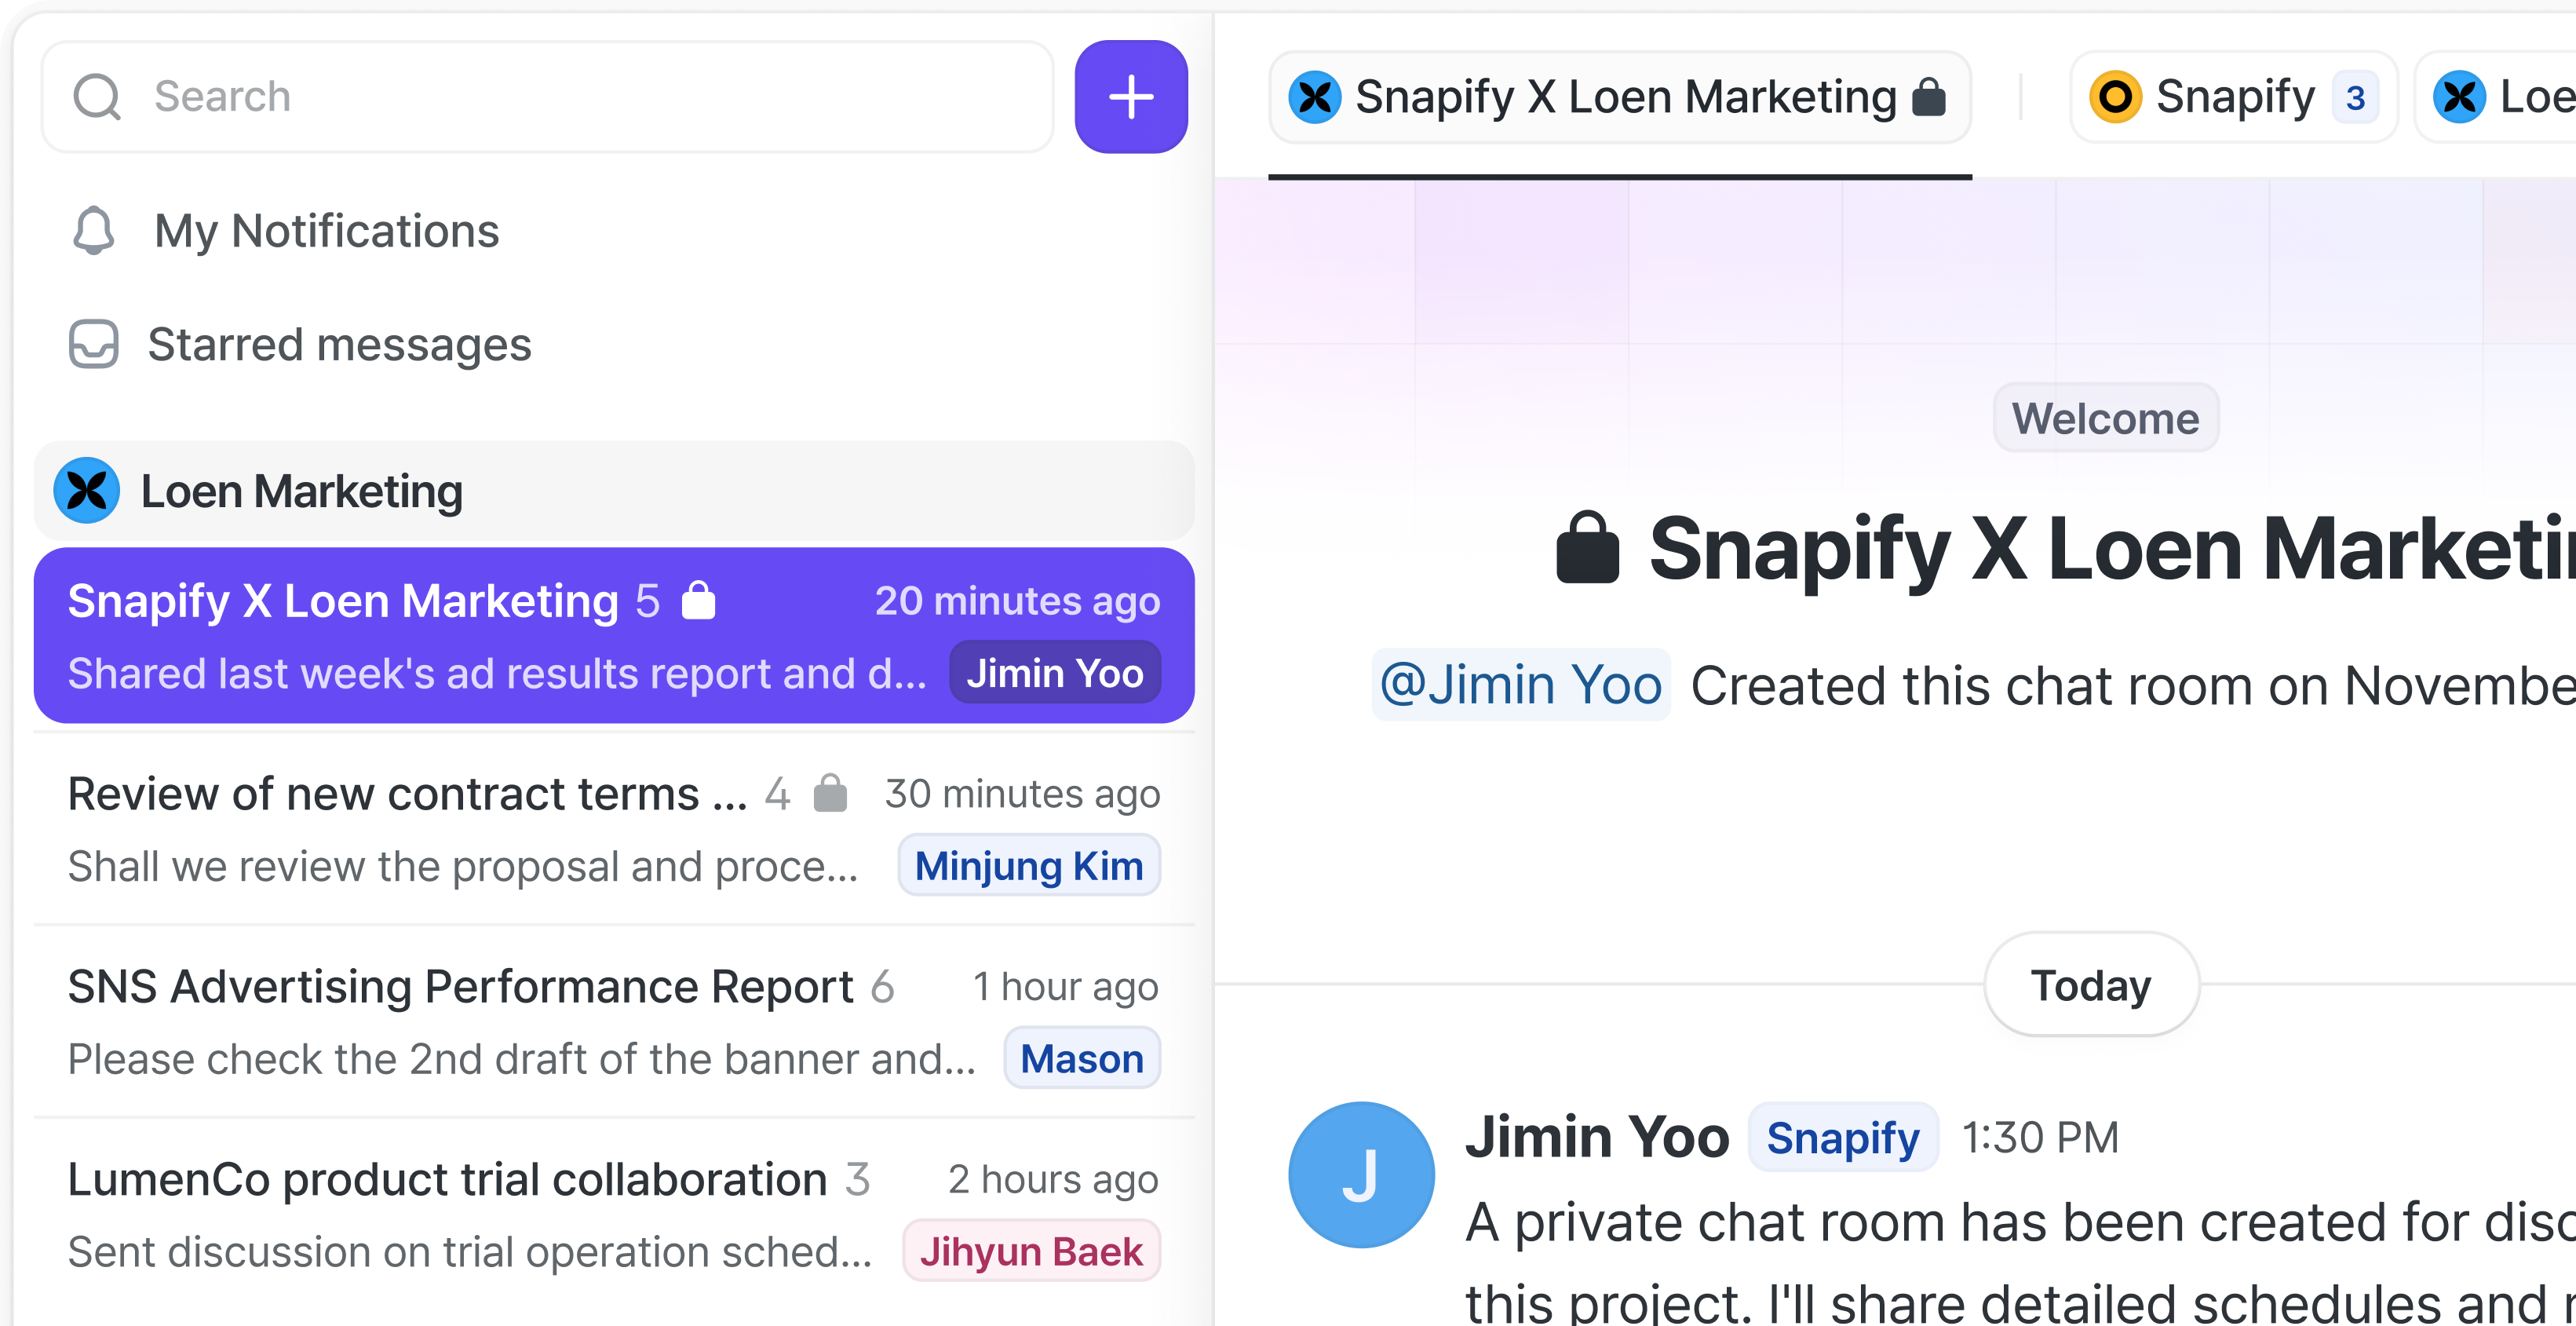
- When creating a channel and inviting members, you can choose [Public or private channel] at the bottom.
- The contents of a private channel are visible only to the invited participants.
Workspace owners and the account’s primary managers can see that a private channel exists with their company. However, the messages themselves remain hidden.